Friday, August 15, 2014

Shuffling around the growspaces

For some time now I've been dissatisfied with how my plants are arranged in their growspaces. Some spots were crowded, others had lots of wasted empty space. Yesterday I had a couple hours free to fiddle with things, and while it's not 100% optimized, I feel like things are in a much better way generally.

First up was my first growing area. This spot saw the most reorganization, because it houses my Drosera 'Marston Dragon', which is huge, and my collection of Utricularia, which are weeds (and therefore housed mostly in solo containers).

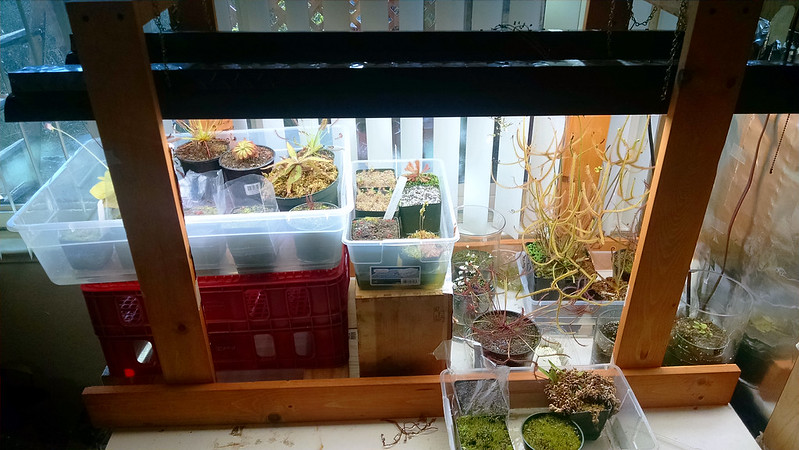
Here's a shot of the first area before reorganization.
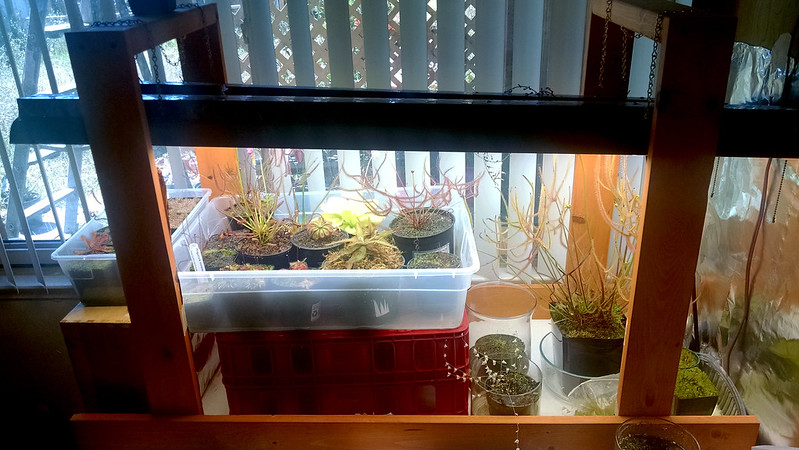
The first area, pre-organization.
This arrangement was very ad hoc, and I'd never cared for it.
As you can see, the lights are very high, to accommodate both the D. 'Marston Dragon' on the far right, and the two Drosera binata clones in the tray, which were both growing up into the lights. As a result, the shorter plants were getting much less intense light. Also notice how much empty space there is around the D. 'Marston Dragon' and the utrics. Waste!

And here it is after reorganization.

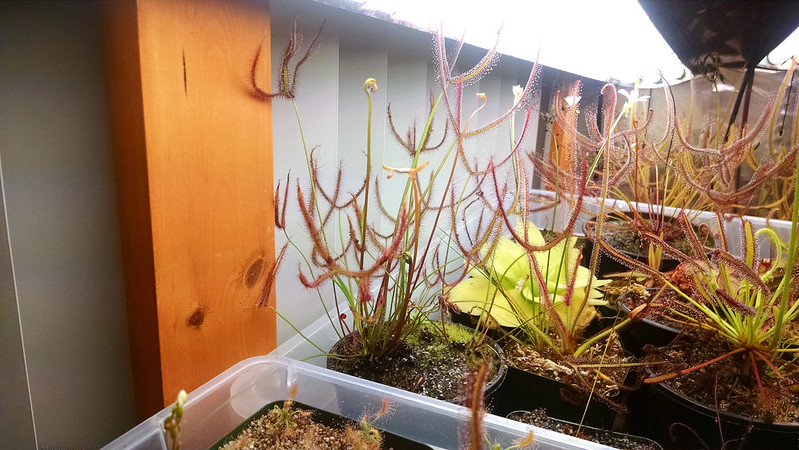
First growing area, post-organization.
It's still got problems, but this is a lot better than it was.
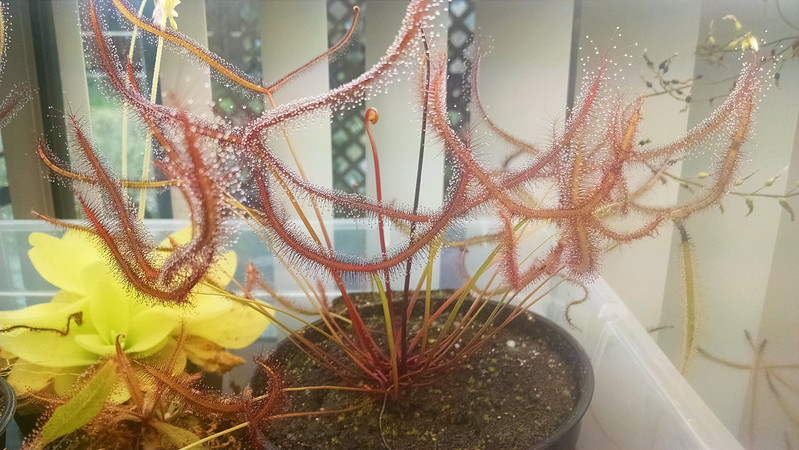
While the lights are still high, I was able to raise the milk crates with some lumber, since the two D. binata clones are living down on the right with my D. 'Marston Dragon' and the utrics. I also moved down my Drosera spiralis, which is getting really tall. Incidentally, I also took the opportunity to remove a grassy weed that had taken root in the pot. As in, its roots were 2 feet long and had gone all around the tray. Hopefully I don't find it popping up elsewhere.

While this still isn't as efficient a use of space as I'd like, I do have a lot more room in the large tray to expand. The main difficulty has been fitting the Dragon in with other plants. Also, I need to find some small square containers for utrics that will fit together more nicely than the round ones I have.

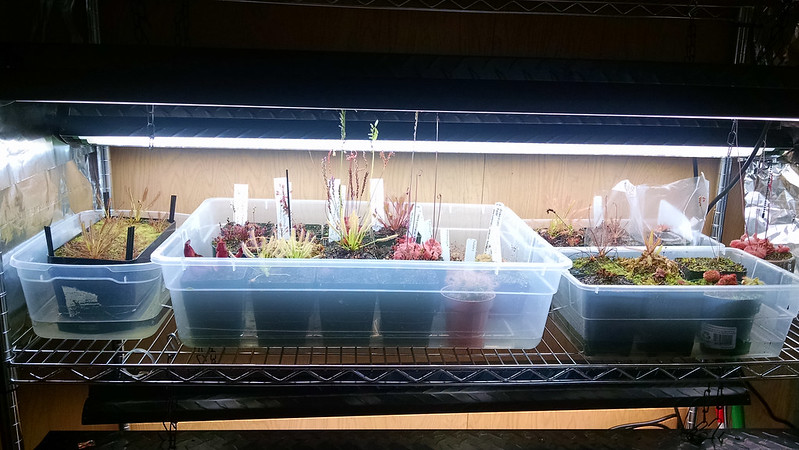
The second growing area didn't go through as much of a shift, because it was being more efficiently used to begin with. Here it is before.
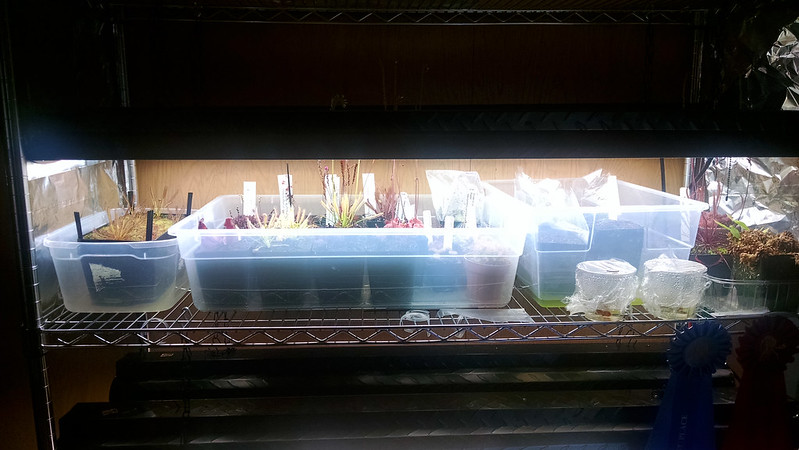
Second growing area, pre-organization.
This area had always felt cramped when it was like this.
And then after reorganization.

Second growing area, post organization.
Everything feels airier and less cramped now.
The primary change is that the tall-sided tray on the right has been swapped out for two shallower (and thus easier to access) trays side-by-side. I've also moved some shorter plants from the first area over here, and took some of the taller ones from here over there. Generally, plant density has increased, which is made easier by the fact that almost all the pots in here are square.

My favorite change though was a total accident. In order to get better access to the plants, I raised the lights in front up 4 inches or so, while leaving the back down low. It made a world of difference! I can see my plants better, reach in to access them for feeding, it's great. Ever since I'd filled this growspace I've been frustrated with how difficult it is to enjoy the plants I have growing in here, and this has made it so much better. What a simple fix.

Now, it has also lowered the light level for the plants in front. We'll have to see how that goes, but I suspect it will be fine. This is always a tradeoff when growing plants under lights, and it has to reflect why you are growing them. I know some people use LEDs to grow, in order to give plants more of the red and blue spectrum they need. LEDs are more efficient than fluoros, and the plants probably appreciate it. However, I grow my plants because they are beautiful, and I want to have them on display to be admired whenever, not bathed in weird colors. Therefore, I sometimes sacrifice optimal lighting for better aesthetics. If I were growing commercially I would absolutely use LEDs for propagation and growing out, weird light colors be damned.

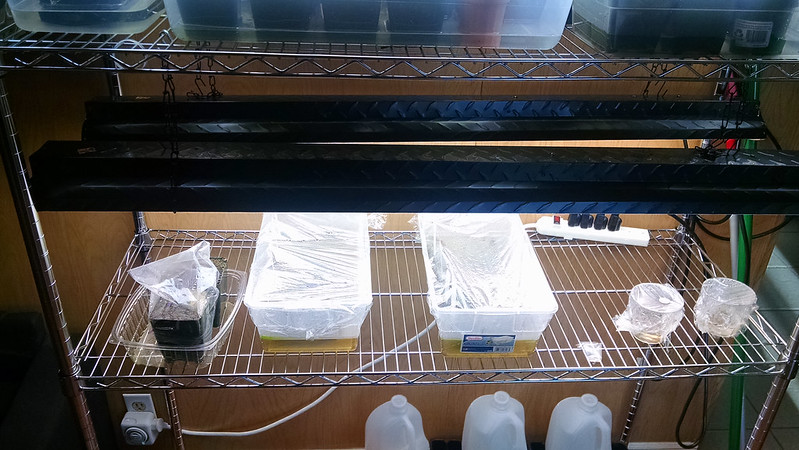
In any case, that's what I think about lighting. Here's my propagation area, the only change to which has been that now its even emptier. Before:
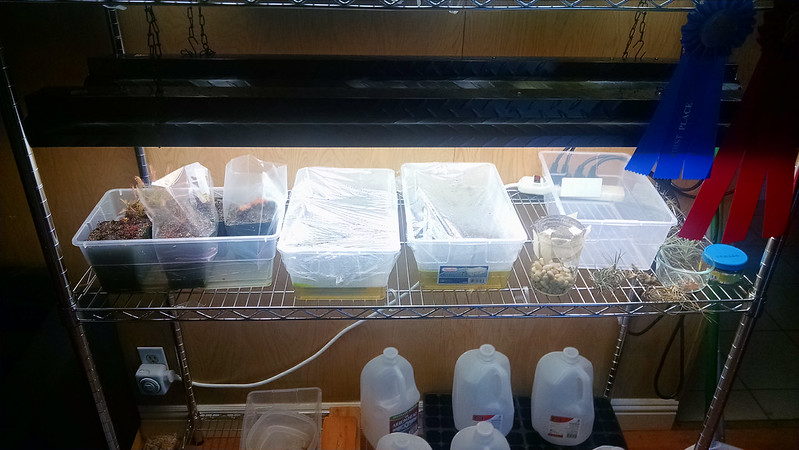
Propagation area, pre-organization.
This area really needed the least work.
And then after:

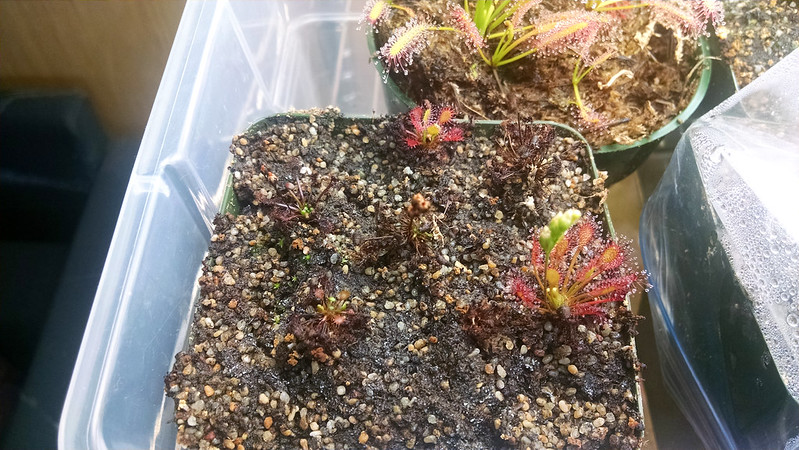
Propagation area, post organization.
It feels so empty.
I clearly need to get more plants into propagation.

I'm glad I got my growing areas in order. I'm much happier with how they look, and am looking forward to getting more plants to fill them up even more.

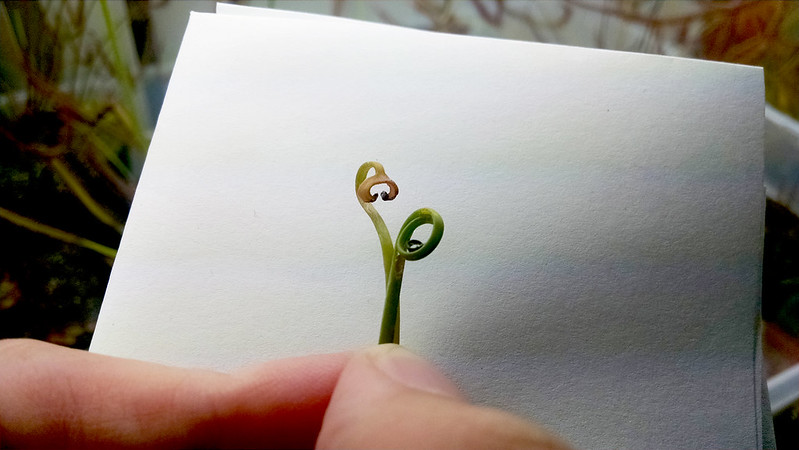
Finally, an update on the Summer Batch. While I was moving things around I peeked in to see if there was any more action. Several of the leaf cutting strikes had gotten markedly bigger, and the Drosera tokaiensis and Drosera capillaris seedlings are much more noticeable. In addition, I noticed a strike on...Drosera venusta!
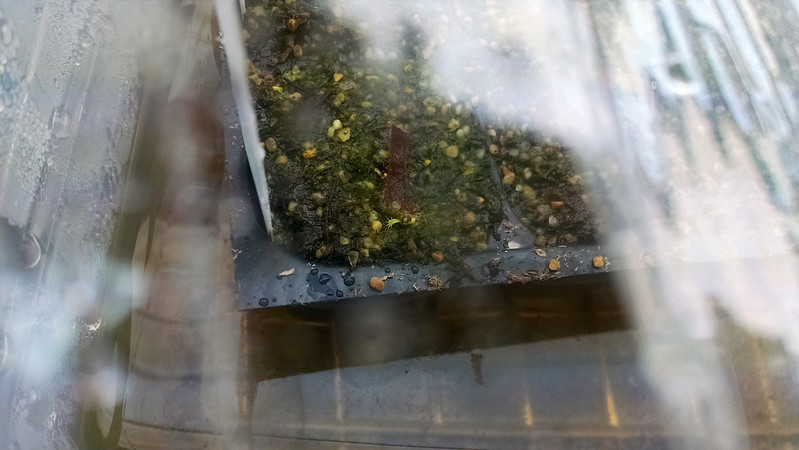
Drosera venusta leaf cutting strike.
D. venusta leaf cutting reaching for the stars.
I also noticed new strikes on Drosera madagascariensis. Looks like I've got some new plants on the way :)

The Summer Batch

Sown/Started:

  • 7-9-14 Drosera intermedia 'Cuba'
  • 7-9-14 Drosera burmannii Humpty Doo
  • 7-9-14 Drosera tokaiensis
  • 7-9-14 Drosera capillaris Alabama
  • 7-9-14 Drosera adelae
  • 7-9-14 Drosera anglica CA x HI
  • 7-9-14 Drosera madagascariensis Masoala, Madagascar
  • 7-9-14 Drosera venusta

Germinated/Struck:

  • 8-4-14 Drosera anglica CA x HI, struck. Date approximate.
  • 8-11-14 Drosera tokaiensis, germinated.
  • 8-11-14 Drosera capillaris Alabama, germinated.
  • 8-11-14 Drosera madagascariensis Masoala, Madagascar, struck
  • 8-11-14 Drosera adelae, struck
  • 8-14-14 Drosera venusta, struck
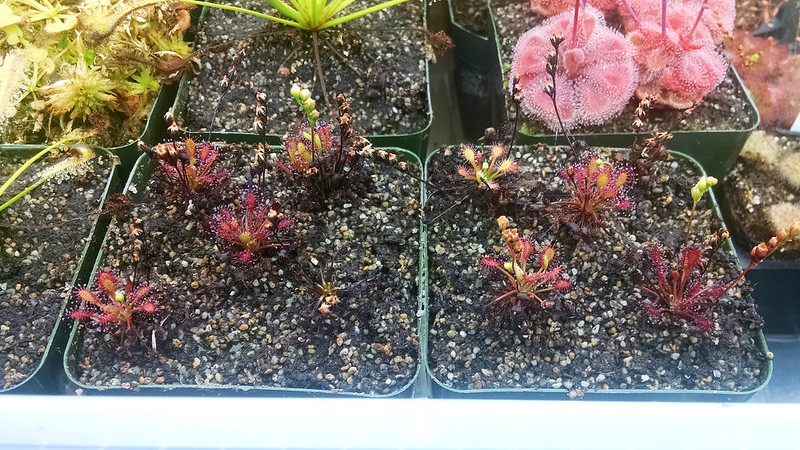
Wednesday, August 13, 2014

Possible Drosera brevifolia seedling

I like my Drosera brevifolia pot because it really seems like an ecosystem.

Drosera brevifolia
I really like the pronounced red color of this plant.
There are the two main plants, another wedged up underneath the center plant, ever-expanding mounds of Sphagnum, and various and sundry other mossy algal things. Plus, D. brevifolia is really funny and small. It would be fun, when I have some more time to fiddle with my plants, to put together little vignettes of sundews all growing together, maybe with other carnivores too.

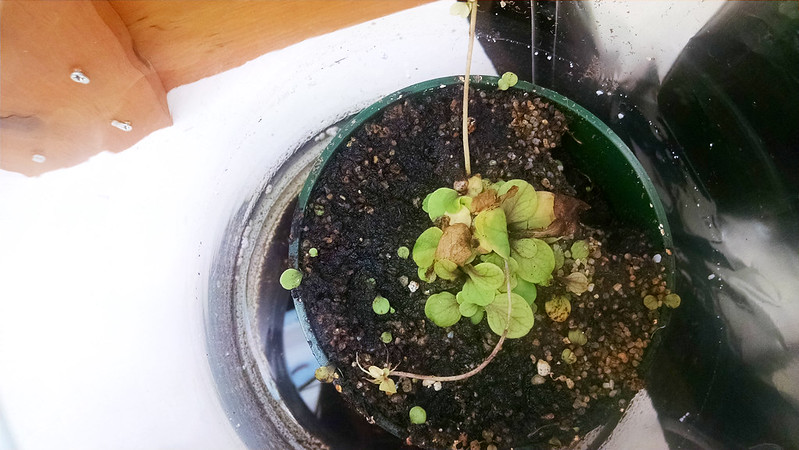
In terms of really small though, do you see something just down from the center plant?

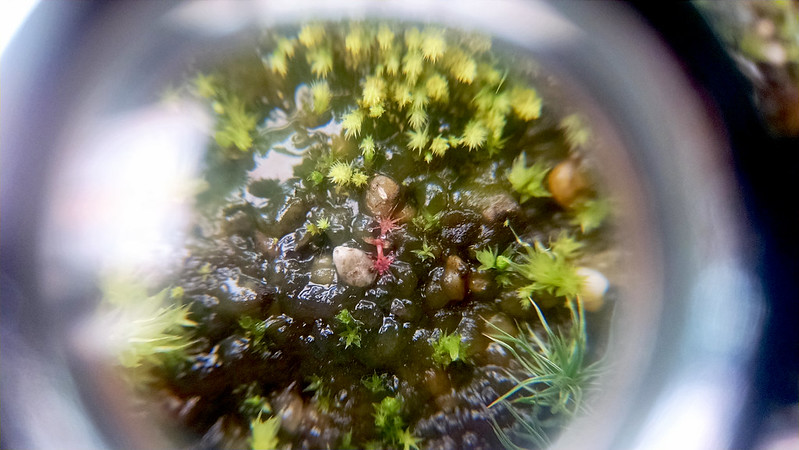
Drosera brevifolia sprout, hopefully.
It's a whole, tiny little world down there.
A little sprout! It's even got its first couple carnivorous leaves. I know some D. brevifolia seed got spilled when I put off harvesting a seed pod for a while, so I'm hoping that's what this is. It's also totally possible that it's a Drosera capensis or Drosera aliciae seedling, since those plants go nuts and have long stalks in the same neighborhood as this pot.

Guess we'll see!

Monday, August 11, 2014

The Summer Batch: One Month update

In the spirit of updates, I decided to see what was going on with the Summer Batch. I had been pretty wary – the trays seemed to have more algae than usual, which is not what was supposed to have happened. Also, a number of the leaf cuttings had apparently withered to nothing.

However, things are actually better than I'd thought! A warning though: the pictures in this post are not super exciting.

First off, Drosera anglica CA x HI is striking mightily.

Drosera anglica leaf cutting
Let's not lose these ones. Need more time to develop.
Now, I've made the mistake of trying to harden off a D. anglica leaf cutting too quickly before, so it's going to be a while before I take off any of the plastic covering this tray. The fact that I'll be waiting on other cuttings to strike/develop should help reign in my enthusiasm. I actually noticed these at least a week ago, but forgot to take a picture/mention it on the blog.

One of the three Drosera madagascariensis cuttings has also struck, if less dramatically.

Drosera madagascariensis leaf cutting.
It's always exciting seeing a new strike on a leaf cutting, seriously.
The other two aren't looking so hot, but at least I'll have one more plant started!

The Drosera adelae cuttings basically withered and dissolved almost immediately, which surprised and disappointed me. However, just today I noticed action on one of them. Guess I don't really understand D. adelae!

Drosera adelae leaf cutting.
Little plantlets sprouting from the mucky old leaf.
I know soon enough I'll be laughing at myself for deliberately cultivating this famously prolific sundew, but for now I'd really like some more plants.

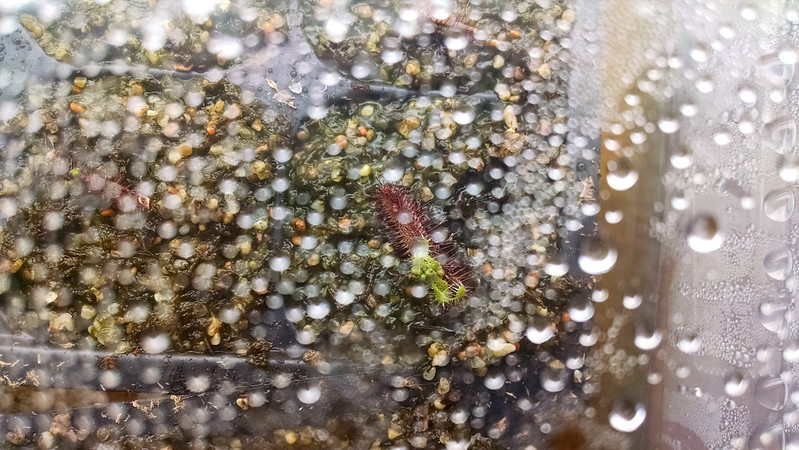
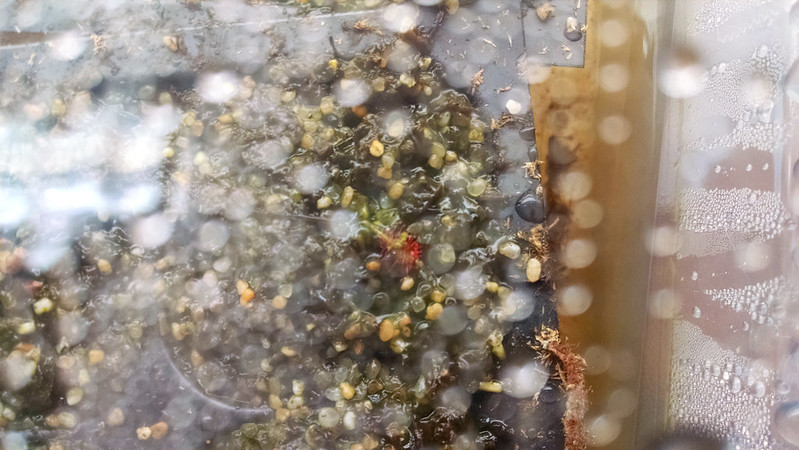
I've also noticed sprouts for 2 of my seed-started plants, Drosera tokaiensis and Drosera capillaris.

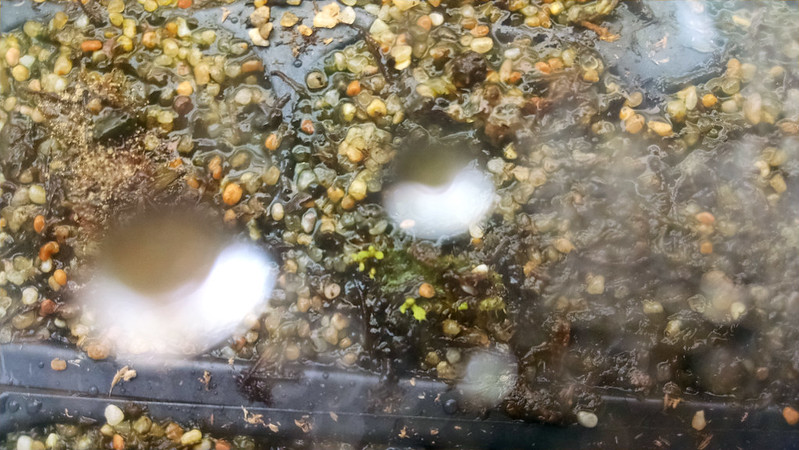
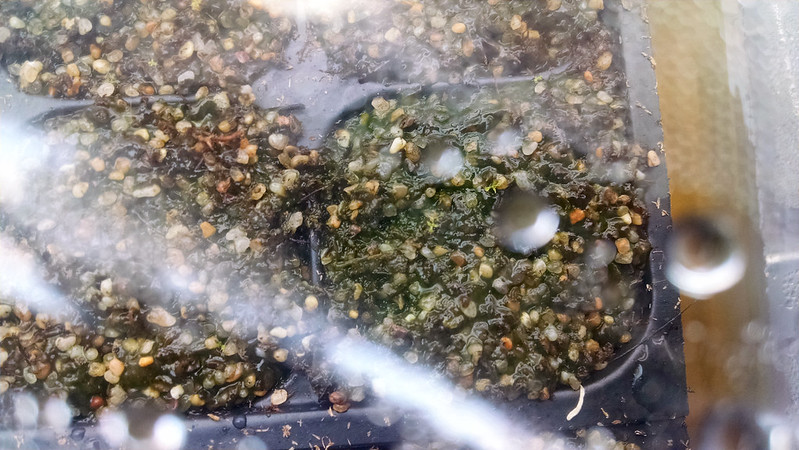
Drosera tokaiensis sprout.
Drosera seedlings are really hard to see, hahahah.
The D. tokaiensis seedling is right in the middle of the photo, and in fact I saw sprouts in all 3 cells in which it was sown. This was something of a test germination to make sure my plant was actually viable, and it sure is!

Also, if you look closely at the cell in the top left of this photo there is a tiny D. capillaris sprout, one that I didn't actually see when I took the picture! When I was preparing for this post in Photoshop I saw the green speck, and then ran downstairs to confirm. Yes, in fact a number of the D. capillaris seeds have sprouted. This is exciting, since it means they apparently don't need cold stratification to sprout quickly, at least when the seeds are fresh. I didn't bother taking another photo because they look identical to the D. tokaiensis seedlings, but I'll get some more in the future.

I've definitely had some surprises with this round of propagation! I had expected to see D. adelae strike before D. anglica and to see Drosera venusta before D. madagascariensis, and was wrong on both counts. Also, I was sure that the extremely fresh Drosera intermedia 'Cuba' and extremely weedy Drosera burmannii would germinate before D. capillaris and D. tokaiensis. Funny about that.

I'll leave you with a picture of my mature D. tokaiensis in its mixed pot, since the pictures this time around were sort of uninspiring.

Drosera tokaiensis and company.
D. tokaiensis and buddies in the mixed pot.

The Summer Batch

Sown/Started:

  • 7-9-14   Drosera intermedia 'Cuba'
  • 7-9-14   Drosera burmannii Humpty Doo
  • 7-9-14   Drosera tokaiensis
  • 7-9-14   Drosera capillaris Alabama
  • 7-9-14   Drosera adelae
  • 7-9-14   Drosera anglica CA x HI
  • 7-9-14   Drosera madagascariensis Masoala, Madagascar
  • 7-9-14   Drosera venusta 


Germinated/Struck:

  • 8-4-14 Drosera anglica CA x HI, struck. Date approximate.
  • 8-11-14 Drosera tokaiensis, germinated.
  • 8-11-14 Drosera capillaris Alabama, germinated.
  • 8-11-14 Drosera madagascariensis Masoala, Madagascar, struck
  • 8-11-14 Drosera adelae, struck

Sunday, August 10, 2014

Repotting follow-up, 5 weeks later

A bit over a month ago I decided it was high time to repot a few sundews, specifically the Drosera intermedia 'Cuba' and Drosera capensis 'Albino' seedlings I'd started around Christmas, and the Drosera admirabilis I'd picked up at the 2014 BACPS Show and Sale. I also decided to finally risk splitting my Drosera capillaris which was cycling back and forth between looking gorgeous and ragged in its growing clump.

The biggest challenge, definitely, was the D. intermedia 'Cuba', which were small plants with delicate roots. It didn't help how windy it was the day I decided to do the repotting. Here are my two main pots, which is where I put the 10 largest plants.

Drosera intermedia 'Cuba', mostly successful.
A couple plants suffered a bit of setback, but over all these were very successful!
Pretty good success rate! I definitely lost the plant in the back right. It's all dead. The one in the bottom right-hand corner of the left pot is a bit more up in the air: there is green at the growth point, and little unopened leaves. It may just be holding back before getting back to decent growth.

The third pot, which is where all the smaller plants ended up, fared much more poorly.

Drosera intermedia 'Cuba', many failures.
The third D. intermedia 'Cuba' pot, with many losses.
As you can see, a couple plants on the left of the pot still have green at the crowns, but overall these were much less successful. That's not surprising though, since they were all on the smaller side to begin with. D. intermedia 'Cuba' has pretty fine roots, and I'm sure some of these plants suffered root damage and died as a result.

The D. capensis 'Albino' on the other hand have large, thick roots, and they didn't really even blink when they got repotted. In fact, the largest plant started to bloom immediately after repotting, and the next 2 down in size have followed suit in the last week.

Drosera capensis 'Albino' with new bloom stalks.
Look at the fuzzy little flower stalks.
Large Drosera capensis 'Albino'
What a big nice plant! It's a pleasure to look at.
The smaller plants, which I left in the old pot, didn't even notice any change at all, and they've put on some nice size.

Drosera capensis seedlings ready to be repotted.
You're next little dudes.
It's almost time to pot these guys out themselves! Well, I'm going to be setting up a friend from work with a small growing area, so I'll probably give him one.

The D. admirabilis also had a pretty solid root, although it was confined to a small pot. I potted it up to give it more room.

Drosera admirabilis.
Hopefully the plant will settle in and adjust to my conditions well.
Leaf size has diminished significantly. That's almost certainly partly a response to increased light intensity. I also think it's probably suffered a bit of heat stress, since there was a period of fairly warm weather shortly after repotting. I expect it to settle in in the next couple months, much as my Drosera aliciae has done (its leaves shrunk initially as well).

Separating the clump of D. capillaris was almost as hard as repotting a million tiny D. intermedia 'Cuba'. It turns out there were three plants in there, 2 of which were still pretty firmly attached. The largest plant I set out by itself.

Drosera capillaris, somewhat set back.
I wish I'd used a humidity tent! Still doing okay I guess.
This plant had a good set of roots and separated cleanly, so I just planted it out and didn't do anything special. As you can see, it suffered a pretty big setback from the experience. For a while I thought I might lose it, but it all of those leaves are new growth and I'm pretty sanguine about its future.

The other two plants lost some root and looked ratty in general, so I put them under a bag for boosted humidity. That was definitely the right choice, since now they're doing great! I'm now wishing I'd done the same for the first plant.

Drosera capillaris in humidity tent.
But these guys are doing great! That's what the tent is for.
It's mostly just a fairly full schedule that keeps me from finishing hardening them off. They're both at a much more advanced stage of recovery than the plant which was simply placed in the tray.

So what have I learned from this round of repotting?
  • First, D. capensis varieties are really vigorous and a pleasure to work with. That almost goes without saying though.
  • Second, humidity tents work really well to boost recovery. I think I could have saved some of the D. intermedia 'Cuba' I lost if I'd used a tent with them. I recently received a small sundew in the mail and used a tent, and it's looking great. 
  • Also, don't repot in the wind. The windiness just made it too unpleasant, and I rushed through things. I also think it stressed the plants more than necessary.
  • Finally, I learned to be much more careful when sowing seed. This was early on in my collection, so I didn't really know how to work with sundew seed or what the germination rate would be. Now I'd be much more careful to space everything out more.

As I said though, I think this was all pretty successful. I certainly learned a lot, and that makes anything better!

Saturday, August 9, 2014

Challenges growing Sarracenia outdoors

I don't post about my Sarracenia very often. In large part that's because they're really difficult to photograph with my phone camera, which loves to focus on the wood grain of the fence in the background rather than the pitcher in the foreground. Whatever.

In any case, here's how they looked today.

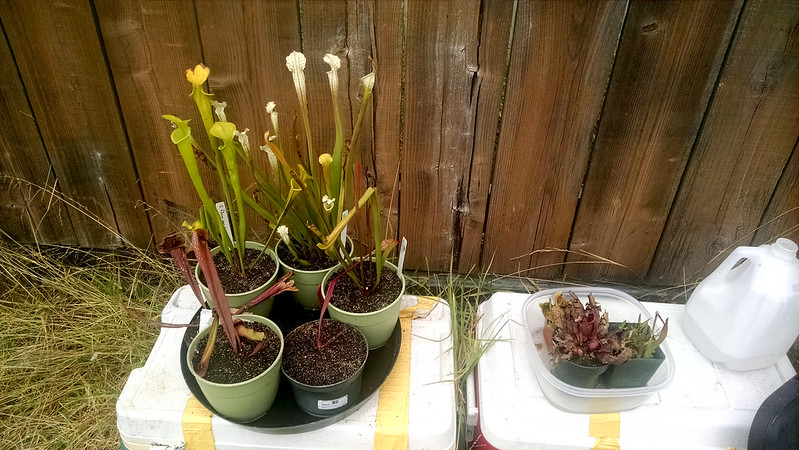
Various Sarracemoa outdoors.
The outdoor growing area is still pretty haphazard.
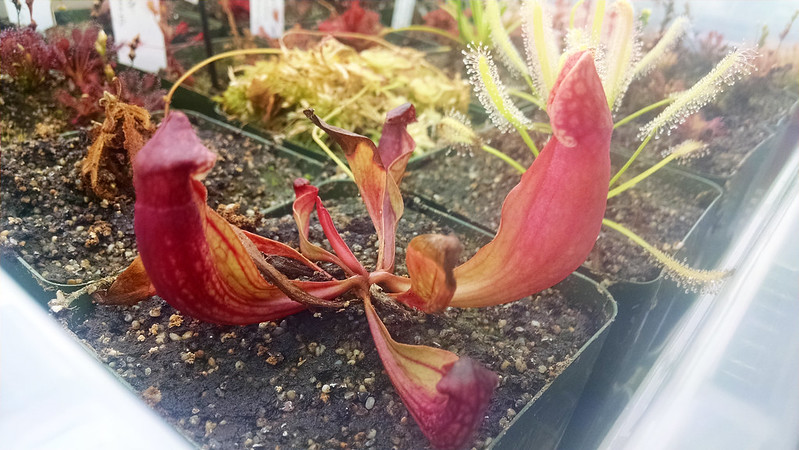
First of all, they are definitely pitchering pretty nicely, especially that Sarracenia leucophylla in the background, and the Sarracenia flava  var. maxima on the left. I've seen some good rhizome expansion too, especially on the S. leucophylla.

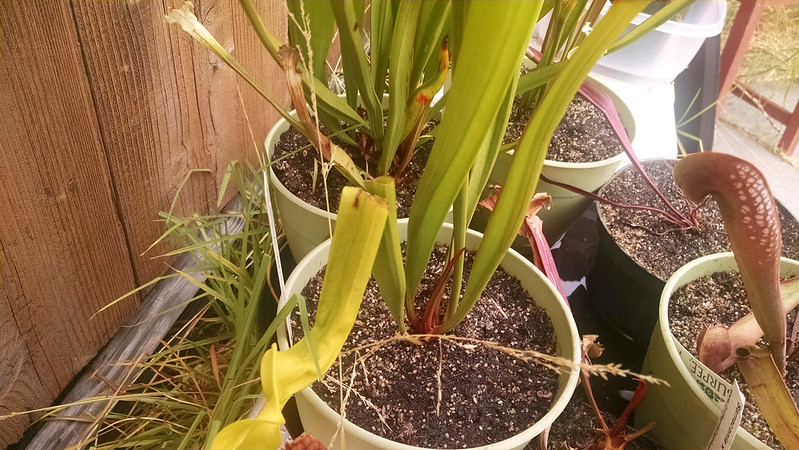
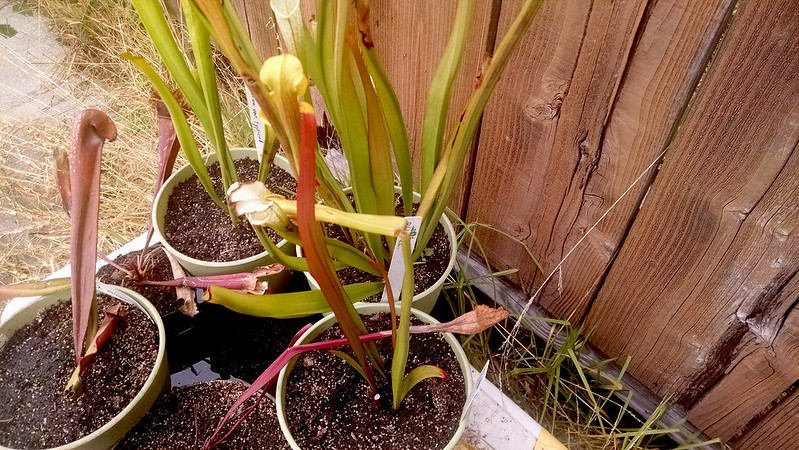
The clones I have are pretty attractive. The S. flava maxima has wonderful lid shape, and the Sarracenia minor is really nicely colored. However, there are definitely problems. First of all, I think this area is much too windy. Check out these broken pitchers.

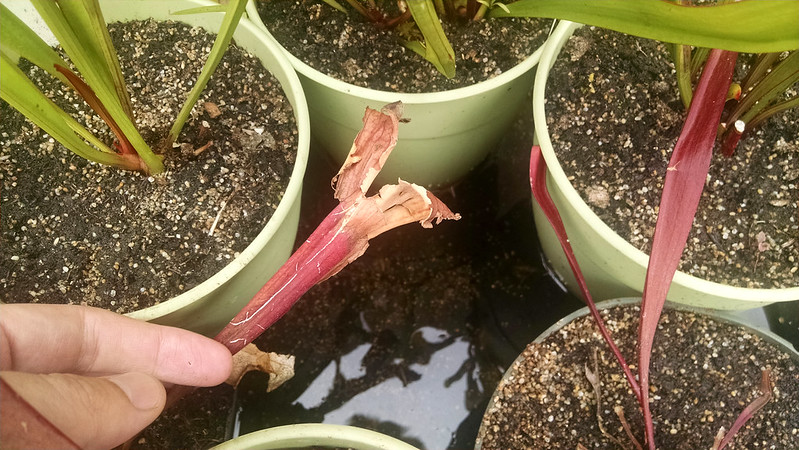
Sarracenia flava, broken pitcher
Broken S. flava pitcher.
S. alata with broken pitcher.
Broken S. alata pitcher.
Sarracenia minor, broken pitcher.
Broken S. minor pitcher.
It can get powerfully windy in my neighborhood and I think it's just too much for these pitchers. The breaks are too clean to be chewing, and the pitchers are often younger, so I don't think it's just too many bugs.

I also have a problem with pigeons. I've seen them perch on my plants and peck out the bugs. Pretty sure that's what happened to Sarracenia 'Abandoned Hope'.

Sarracenia 'Abandoned Hope' with pecking damage.
I still haven't Abandoned Hope yet!
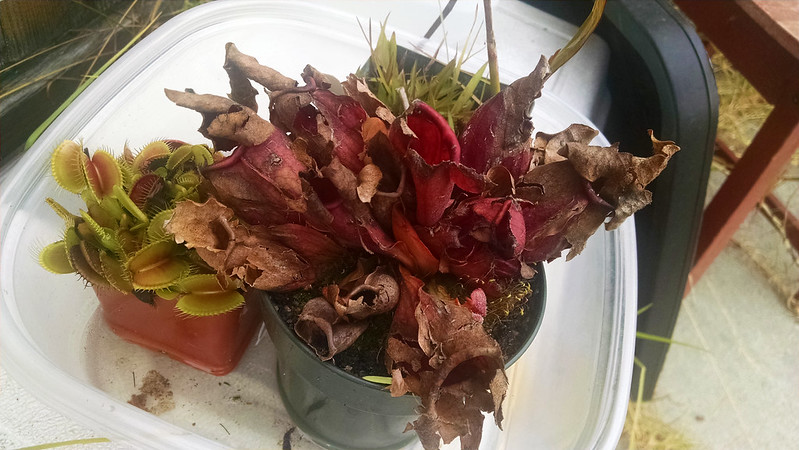
And my Sarracenia purpurea has been totally shredded.

Sarracenia purpurea with pigeon perching damage. Stupid pigeons.
Someday my S. purpurea will be back in shape.
However, there's new growth on both of these, so it's not like they can't bounce back. I guess I'll just have to be okay with somewhat ratty looking Sarracenia until I put together a nicer growing area. Oh well! Growing carnivores is always a learning process.

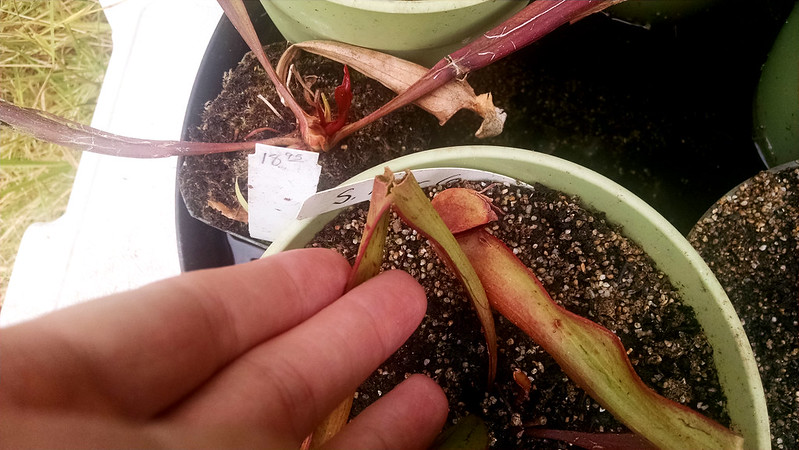
One big plus I've noticed lately is that the S. leucophylla "Hurricane Creek" that I won at the Spring BACPS meeting auction has finally started sending up a pitcher. I couldn't get a decent picture, but that's exciting! I had given up on it almost.

Wednesday, August 6, 2014

Something's living on my Drosera binata

It's important to spend time with your plants! Even when I'm very busy I try to find at least a few minutes a day to look over my collection. This gives me a chance to actually enjoy the weird little carnivores I spend so much time and effort (and money!) collecting and cultivating. It also gives me a chance to check on the health of the plants, problems with pests, all that sort of stuff.

Today while I was looking things over I spotted something very weird on one of my Drosera binata clones.

Drosera binata with visitor in the tray
I almost didn't notice it at first!
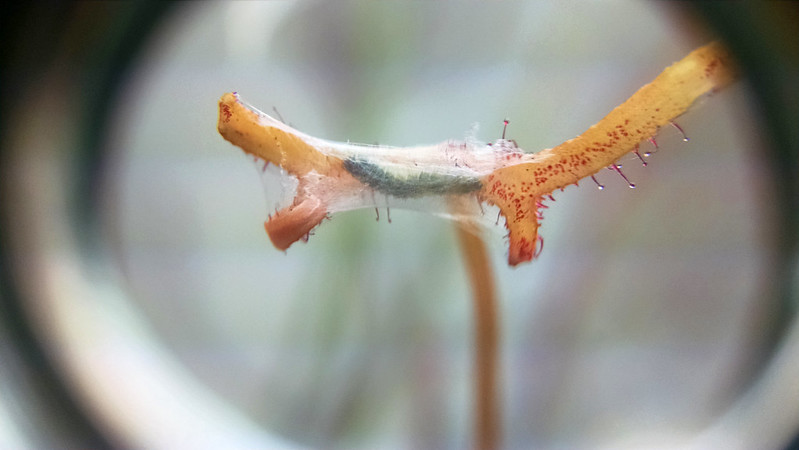
Do you see it? On the laminae of that half-opened orange-colored leaf right in the middle? Computer, enhance image.

Caterpillar close-up on Drosera binata leaf
Up close and personal with the weird little bug.
Huh. Now where did you come from?

It appears to be some sort of caterpillar which must have snuck in from outside, although I'm a little perplexed about how. I brought a Drosera capensis in from outside recently, but it's in a separate tray, and there's a big, deep gap between them, to say nothing of all the water. Nothing else has migrated in from outside. It's quite perplexing.

This little bugger seems to have done a bit of damage. Besides this leaf, the development of which seems to have been halted, there were two others I noticed that had a bit of webby silky looking stuff on them and withered tips.

Damaged leaves from Drosera binata
Two damaged leaves that I trimmed.
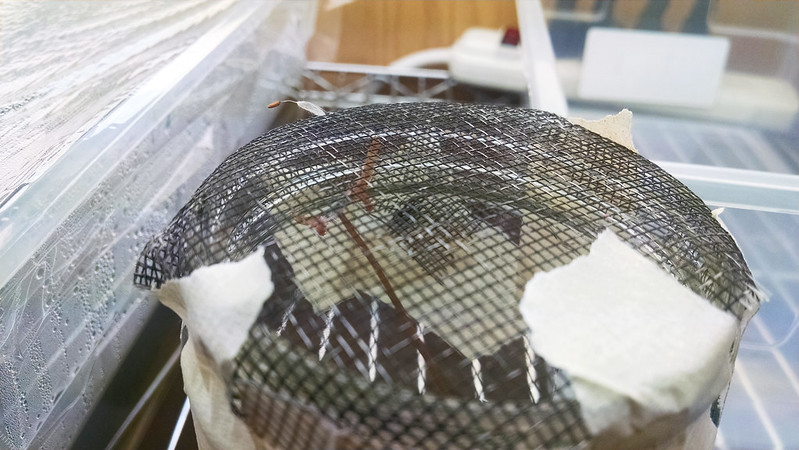
If these are the product of this little bug (and that's all I can figure at this point, since the rest of the plant is growing fine), I definitely don't want to let it mature into some egg-laying moth or other. Still, I couldn't quite bring myself to just toss it outside and kill it – I was too curious.

Caterpillar and Drosera binata leaf in a crude terrarium
This feels like some 2nd grade science project.
This is a crude little terrarium made of a mason jar and some old window screen to see if the little dude develops into anything menacing. There's a layer of pebbles at the bottom, along with some water to keep the trimmed D. binata leaf hydrated. It's back under my lights, and I guess we'll see how it goes!

Tuesday, August 5, 2014

Plants that are doing great!

I feel like lately I've been posting a lot about plants that are struggling, or cultivation errors, stuff like that. I've felt a little down on the collection recently, mostly because I haven't had time to spend with my plants, even though there are several chores I'd like to do. Also the Summer Batch isn't doing so hot (but that's a later post).

In order to not be all down in the dumps, I decided to document some plants that are doing really well. Most of these I haven't mentioned much lately.

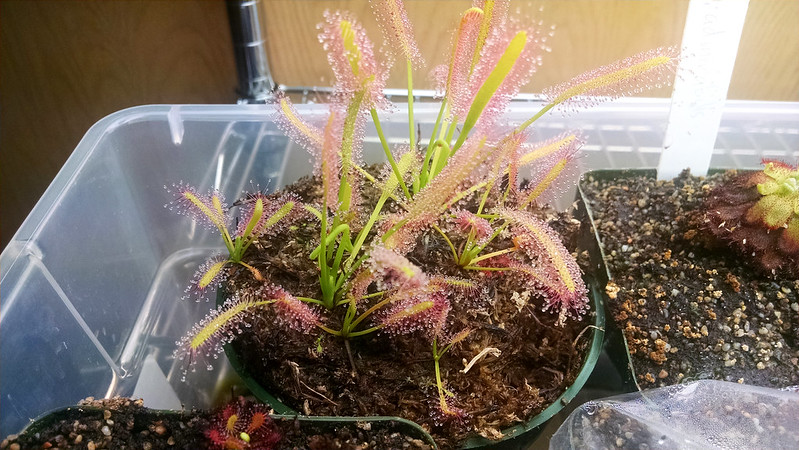
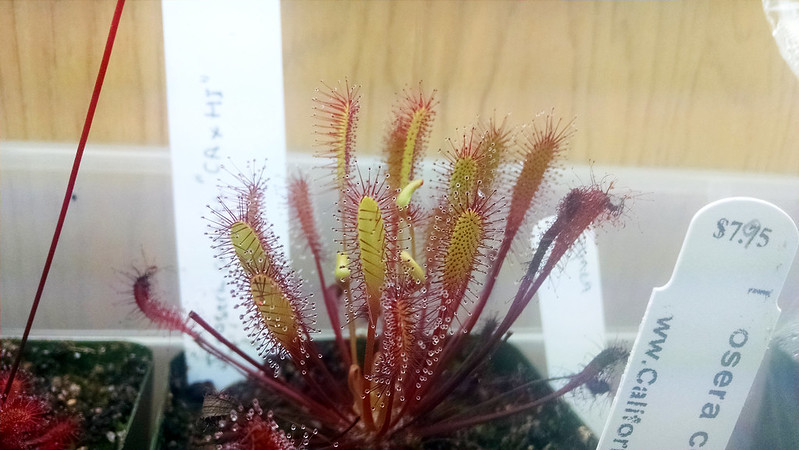
First up, my Drosera anglica  CA x HI has bounced back strongly from that haircut I gave it back in June.

Drosera anglica CA x HI
This hybrid is really the work of an extremely skilled horticulturalist.
I haven't even fed it all that much. This is an extremely vigorous clone, and it seems to really like my conditions. Major winner!

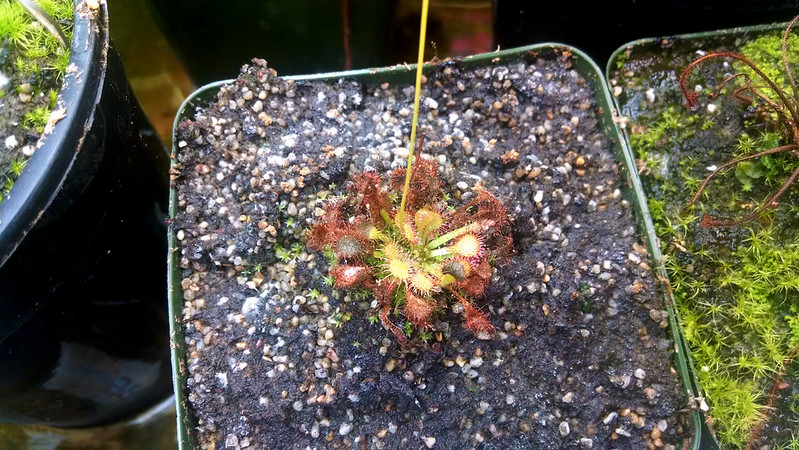
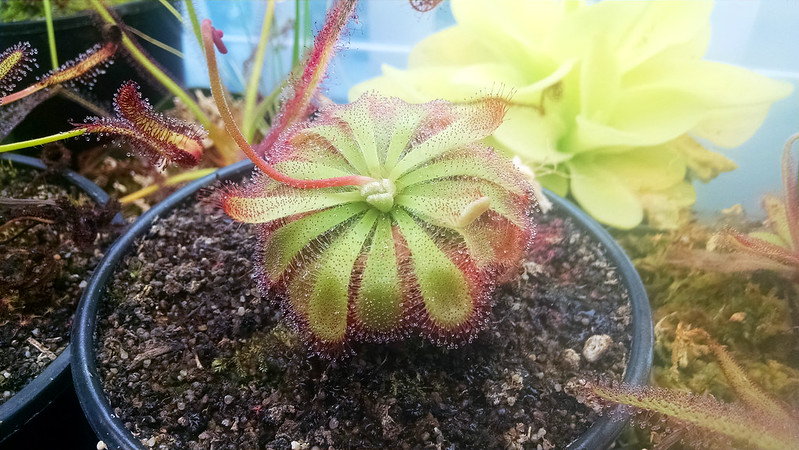
My main Drosera aliciae is sending up a new bloom stalk, and is looking as good as I've ever seen it look.

Drosera aliciae with flower stalk
The color on this plant is still totally nice, just not as burnished red as it can get.
This is the first time it's seemed properly dewy. My lights are somewhat higher than they were a couple months ago (to accommodate my Drosera binata clones), so the light intensity is somewhat lower. As a result the leaves are a bit longer and the coloration isn't as red. However, dew production is higher and the plant looks healthier over all. Perhaps a data point against my "more light is always better" standard for sundews?

I received a Utricularia calycifida during the NASC Auction, and it is spreading all over the pot, in addition to mounding up nicely in the middle.

Utricularia calycifida
It's so funny seeing a pot fill up with a utric.
Now I'm just waiting for it to bloom, which is always the goal with utrics. Although I've got to say, seeing the new leaves pop up everywhere is extremely gratifying, even without flowers.

This little Sarracenia purpurea seedling I received as a trade bonus is quite the treat to have inside.

Sarracenia purpurea seedling
I'll totally be able to keep growing these under lights for at least another year.
Coloration is great, and it's pitchering nicely. This is especially nice since the S. purpurea I have outside is all torn up. I couldn't figure out what was going on until one day I noticed a pigeon perching on top of the pitcher plant, from whence it would peck the bugs out of the taller plants (like Sarracenia flava and Sarracenia leucophylla), also damaging those. It's a grim sight among the pitcher plants outside (although in truth they're essentially healthy and growing, just beat up).

Okay, enough bad news! Back to the cool plants. Check out how rad this Drosera binata clone is looking.

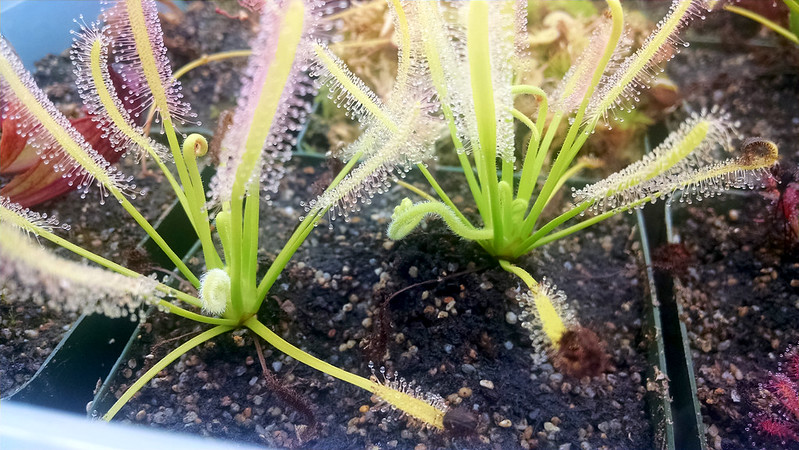
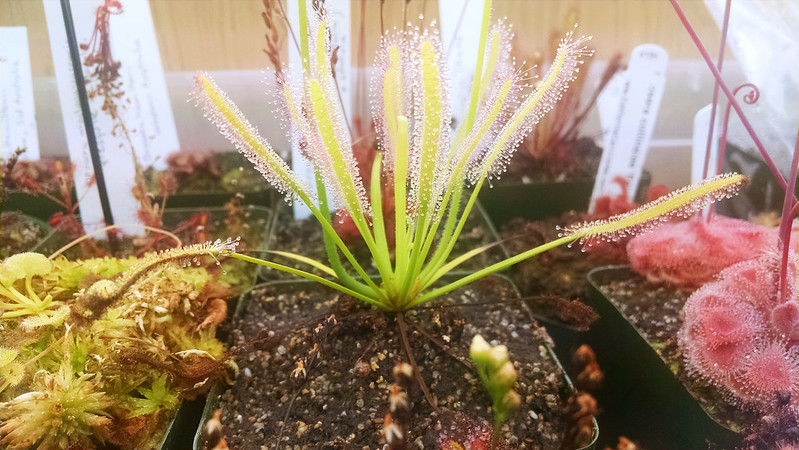
Drosera binata
The color on this clone is really special. Look at that red!
It's big time! Great color, great dew, just going along putting out new growth. A+, would grow again.

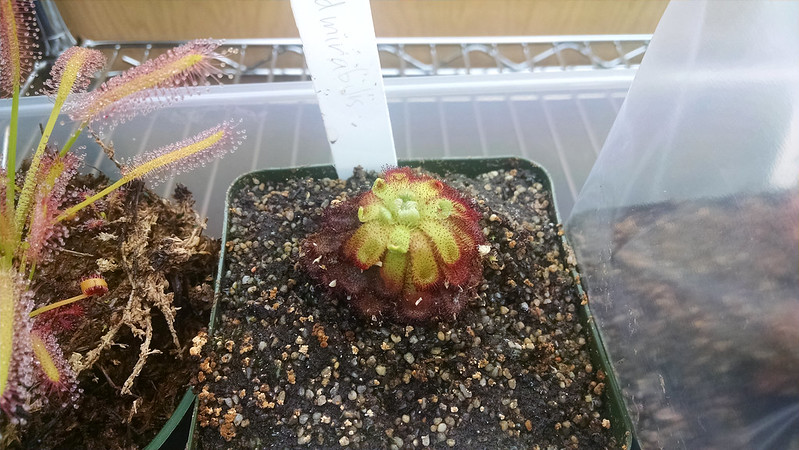
Finally, a permanent member of the "plants that make me feel happy" club, Drosera allantostigma.

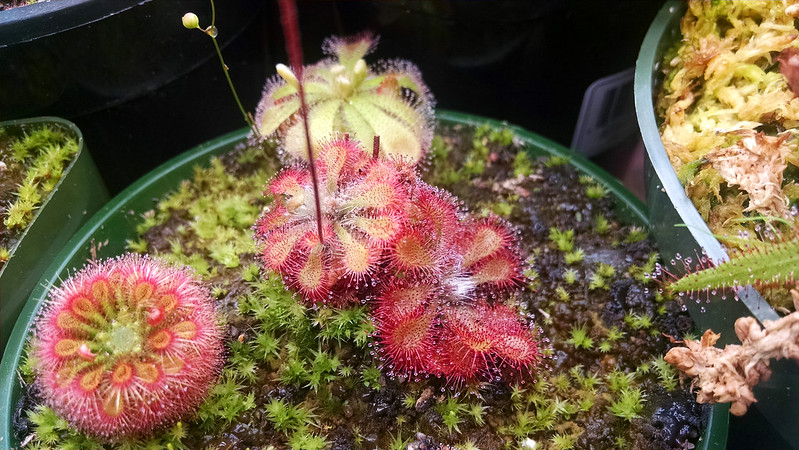
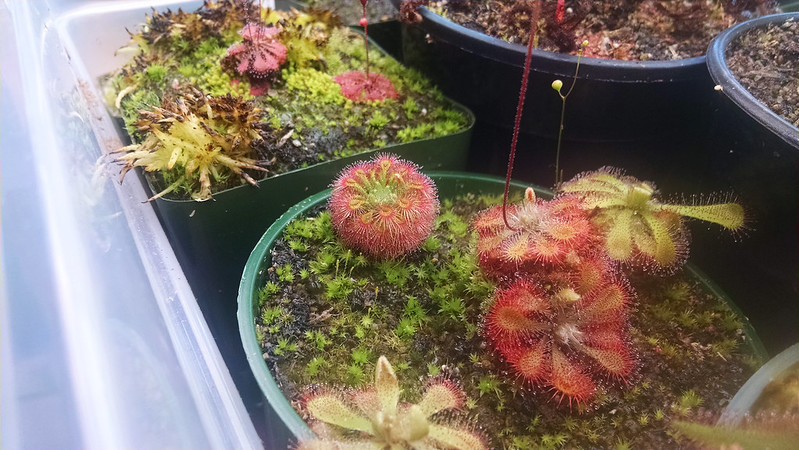
Drosera allantostigma (and friends)
D. allantostigma is really my loveliest sundew.
This picture almost captures its wonderful shape, and the color and the dew are obvious. In my opinion this little pygmy is the gold standard in rosetted sundews. It's just so perfectly shaped and lovely and it grows and grows. Pretty much perfect in every way.

There. I feel better. Sometimes it's important to sit back and think how cool it is to be growing these complex, unique plants. It's really a privilege, if you think about it – getting to observe these weird life-forms up close and learn about this whole different world, right in my living room. Sundews are great :)