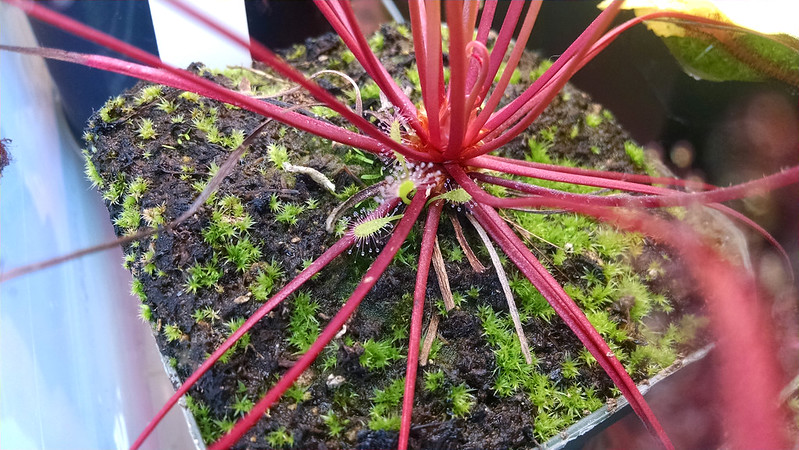
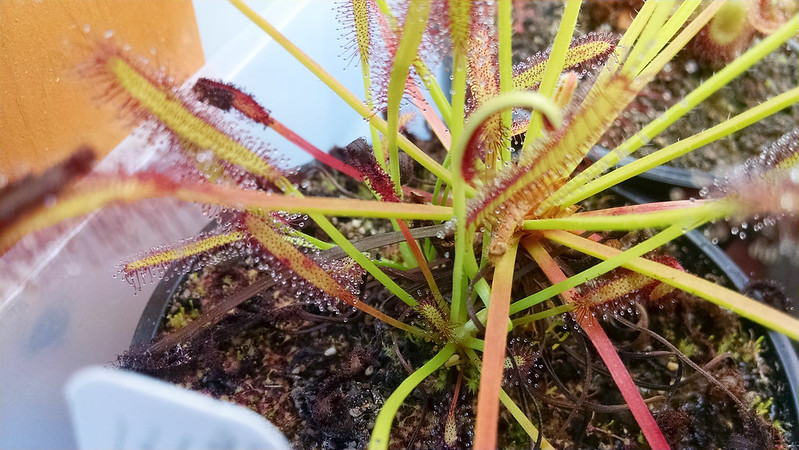
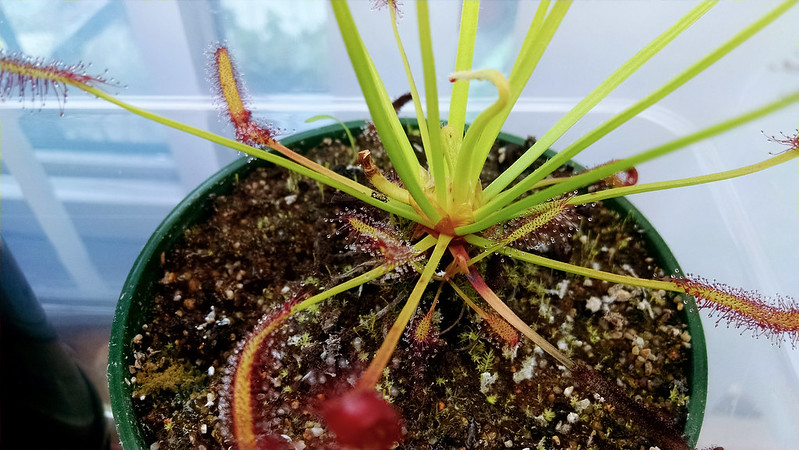
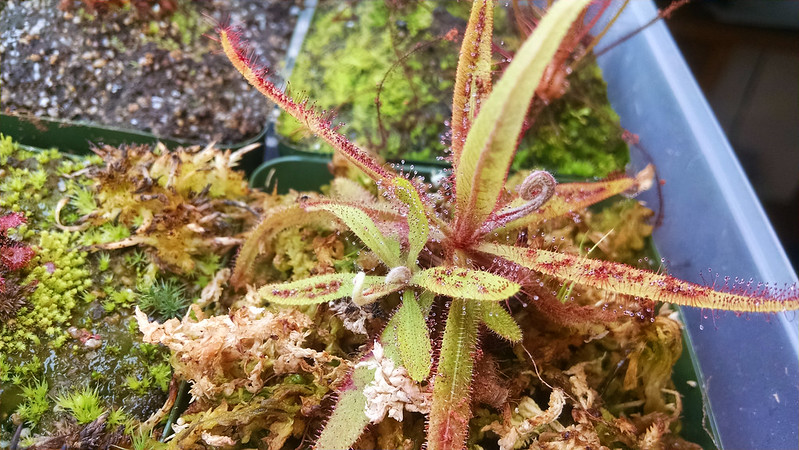
Showing posts with label Drosera capensis 'Albino'. Show all posts

Monday, February 16, 2015

Flowering age: various Drosera

Let's do a little overview of how long it's taken various of my plants to grow to flowering size, either from seed or from leaf cuttings.

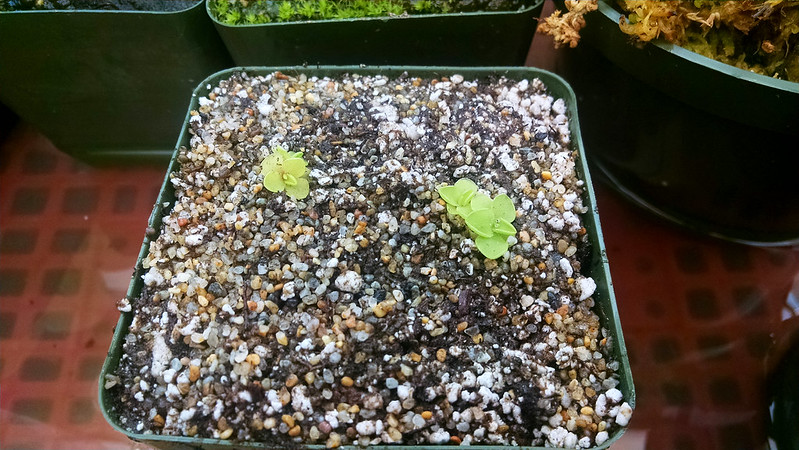
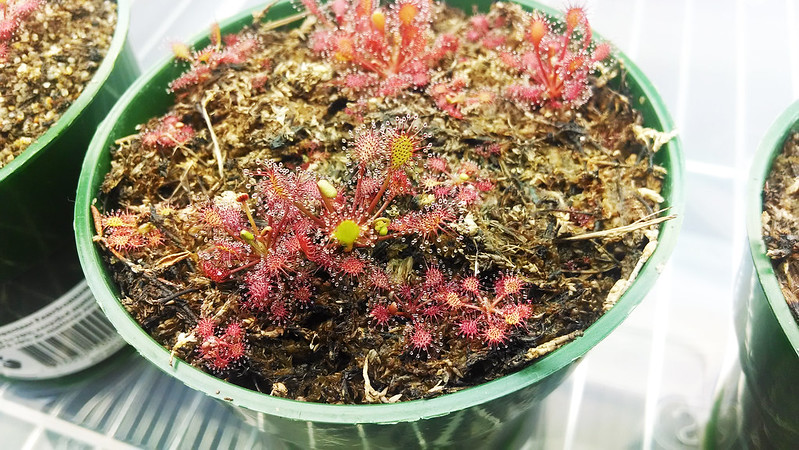
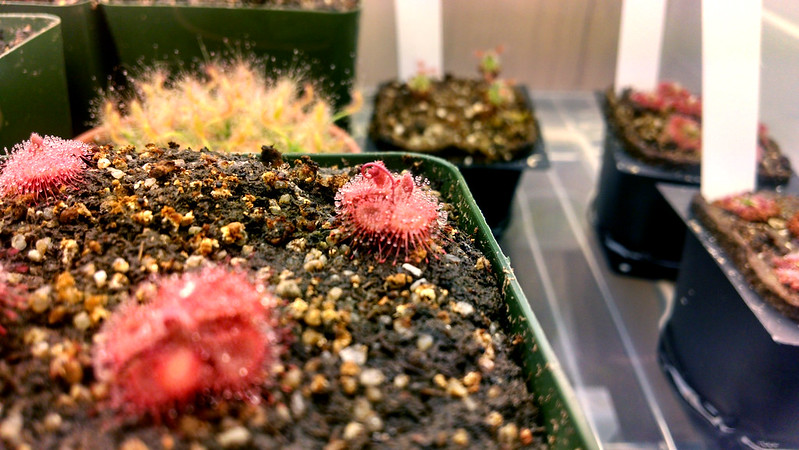
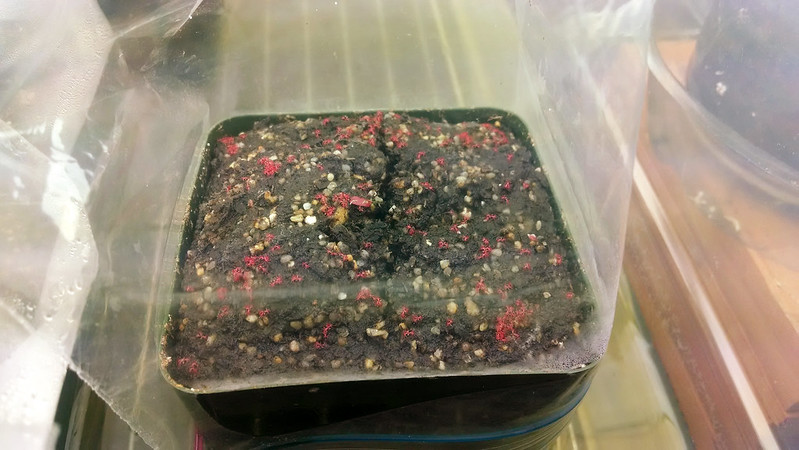
I started Drosera burmannii, Drosera intermedia 'Cuba', and Drosera capensis 'Albino' at the very end of 2013, and they all germinated in mid-January of 2014.

D. intermedia 'Cuba' was the first to flower, on the 11th of April, only 3 months after germination.

Drosera intermedia 'Cuba' seedlings.
D. intermedia 'Cuba' seedlings, mid-January 2014.
Drosera intermedia 'Cuba'.
D. intermedia 'Cuba' flower stalk, 4-11-2014.
Then we had the D. burmannii flowering on the 16th of May, 4 months.

Drosera bumannii seedlings.
D. burmannii seedlings, mid-January 2014.
Drosera burmannii, Humpty Doo.
D. burmannii flower stalk, 5-16-2014.
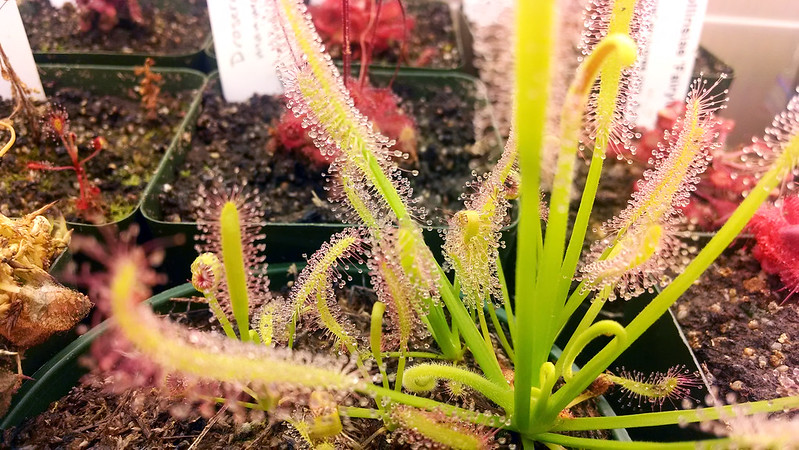
The D. capensis 'Albino' took the longest, sending up a stalk on July 4th, just under 6 months.

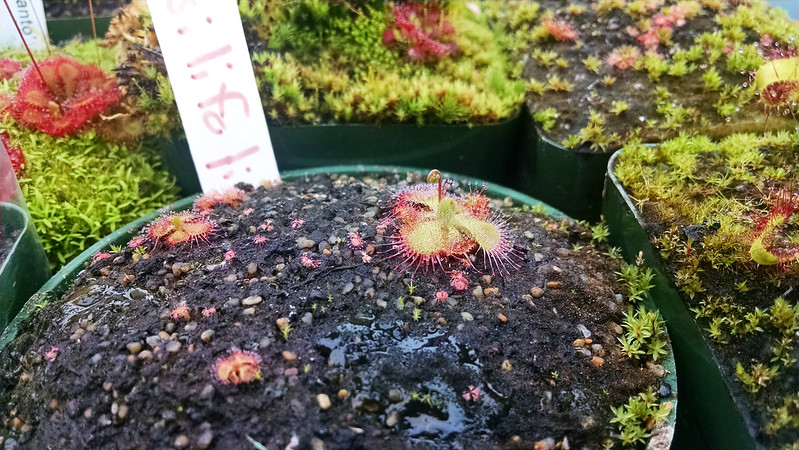
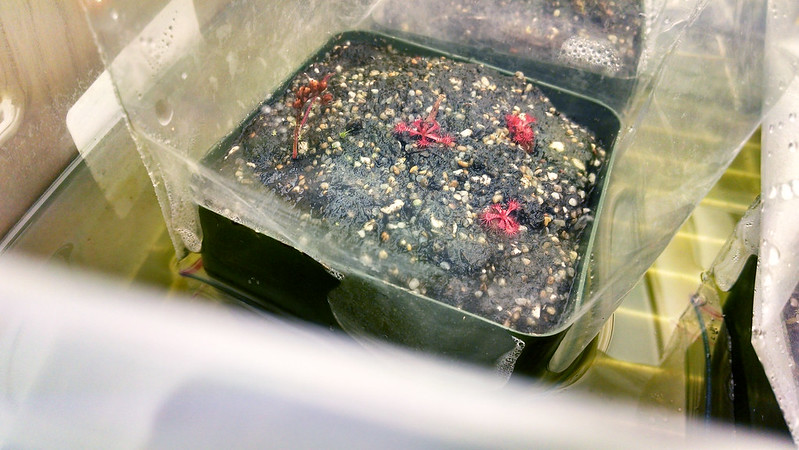
Drosera capensis 'Albino' seedlings.
D. capensis 'Albino' seedlings, mid-January 2014.
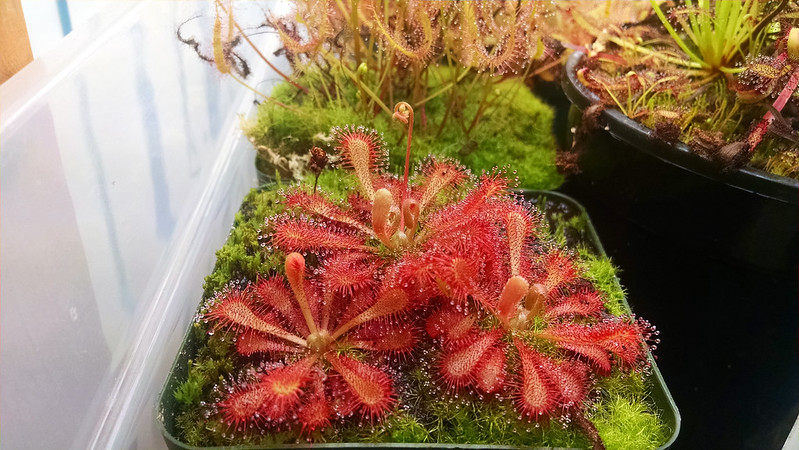
Drosera capensis 'Albino'.
D. capensis 'Albino' flower stalk, 7-4-2014.
Last spring I got some Drosera natalensis seeds from Natch Greyes, which germinated in mid May of 2014, and started blooming just a couple days ago, on February 13th, 2015 – 9 months. Bear in mind though that these guys got no food for the first 3 months of their lives, and then had a huge growth spurt once fed.

Drosera natalensis seedlings.
D. natalensis seedlings, mid-May 2014.
Drosera natalensis.
D. natalensis flower stalk, 2-13-2015.
Another really speedy plant is Drosera sessilifolia. The seeds germinated on September 21, 2014, and with a lot of feeding the first ended up blooming on February 11th, 2015 – just under 5 months to flowering size.

Drosera sessilifolia seedlings.
D. sessilifolia seedlings, 9-21-2014.
Drosera sessilifolia.
D. sessilifolia flower stalk, 2-11-2015.
Those are the only plants I've started from seed that have bloomed, but I do have a couple of species blooming right now that I propagated from leaf cuttings. First is Drosera ultramafica × spatulata. The cuttings struck in mid-June of 2014, and the first plant flowered on February 12th of this year, 8 months total.

Drosera ultramafica × spatulata leaf cutting strikes.
D. ultramafica × spatulata strikes, mid-June 2014.
Drosera ultramafica × spatulata.
D. ultramafica × spatulata flower stalk, 2-12-2015.
The cutting I'm proudest of is the Drosera anglica CA × HI, which is one of the best plants in my collection. It was one of the earliest strikes in the Summer Batch, on August 4th, 2014. I noticed the bloom stalk (already well developed) at the beginning of February of 2015, so it probably started blooming just after the new year. That's only 5 months, and it's a big, strong plant.


Drosera anglica CA × HI leaf cutting strike.
D. anglica CA × HI strike, 8-4-2014.
Drosera anglica CA × HI.
D. anglica CA × HI flower stalk, 2-2-2015.
So here's how it all breaks down:

From seed:
  • D. intermedia 'Cuba': 3 months
  • D. burmannii: 4 months
  • D. sessilifolia: 5 months
  • D. capensis 'Albino': 6 months
  • D. natalensis: 9 months

From cuttings:
  • D. anglica CA × HI: 5 months
  • D. ultramafica × spatulata: 8 months

I remember when I was first getting into growing plants the idea of waiting for 4 months to get a mature plant from seed seemed like forever, but at this point I'm already thinking things like, "Well next season when my pygmies produce gemmae..."I hope this post encourages some people to try out starting new species from seed. It's not very difficult (I still need to write up a Cultivation Guide on it though) and it's extremely rewarding to watch the seedlings grow up.

The most important thing to remember in any propagation effort with Drosera is that feeding is crucial. The reason that my D. natalensis and D. ultramafica × spatulata lagged behind the others is that they weren't fed all that much early on. Even just 2 or 3 feedings of seedlings will give them a huge boost in life. Good luck!

(P.S. – Sorry for the week of silence here on the blog. It's been a bit hectic here at Pinkhouse lately. Luckily that means I have a lot of new stuff to talk about!)

Monday, January 19, 2015

The Drosera capensis mini collection

One of the great things about collecting sundews is that genus Drosera is so widespread and varied that there are all sorts of sub-collections to collect. There are the Three Sisters, the pygmies, South American sundews, tuberous species, and on and on. One of my favorite mini-collections is the Drosera capensis complex. It's a highly varied plant, with distinct types having been found in the wild and developed in cultivation. It's also very easy to cultivate, though to look its best it needs really bright light.

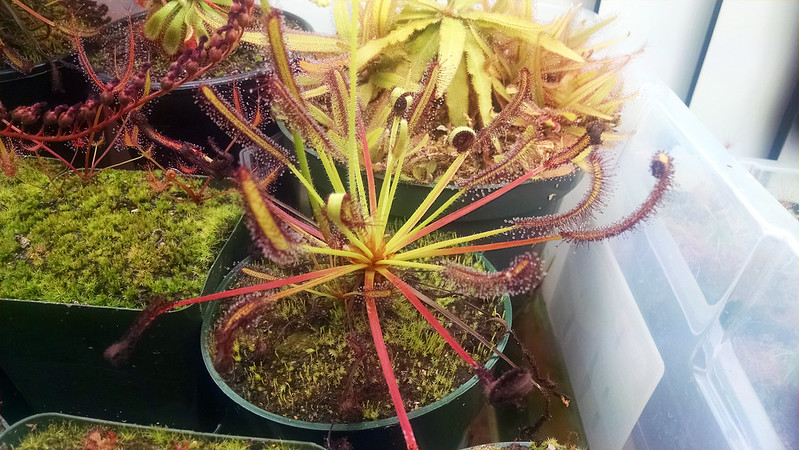
The most commonly-available form of D. capensis is usually styled "typical." Under ideal conditions it has deep red tentacles, bright green petioles and laminae, and mostly upright leaves. The flowers are lavender-pink on long fuzzy scapes.

Drosera capensis typical
D. capensis typical, getting a bloom started.
This is the baseline against which the other forms are usually compared. Pretty much everyone who grows carnivorous plants will end up growing D. capensis typical, since it's a famous weed. It's a great plant!

The only registered cultivar in this complex is D. capensis 'Albino'. It has been referred to in some places as D. capensis 'Alba', but that's not an official cultivar name, and it risks confusion with the South African species Drosera alba.

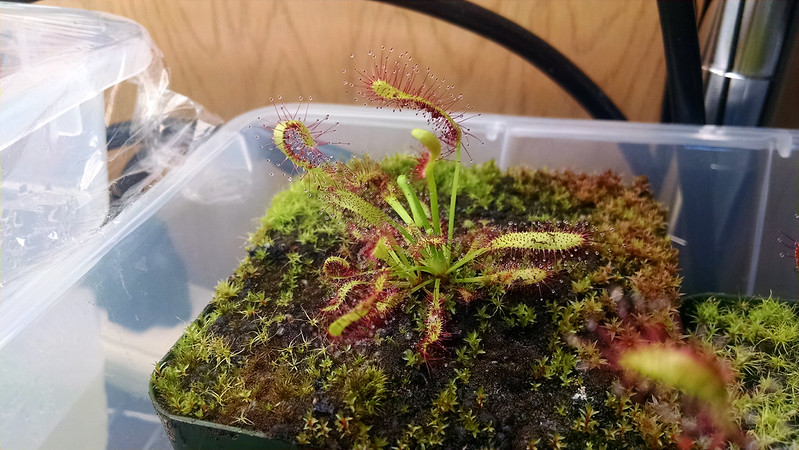
Drosera capensis 'Albino'
A pair of D. capensis 'Albino' bunking together.
This a a mutation that arose in cultivation. The leaf shape is pretty much identical to the typical form, but the tentacles range in color from pale pink to totally white (depending on light intensity and frequency of feeding), and the flowers are white. This is another extremely common plant, but it is absolutely lovely. The pink blush makes the laminae seem like they're glowing.

The red form of D. capensis hasn't been registered as an official cultivar, but it really should be. Under bright light and without too much feeding the entire plant turns a deep, almost maroon red. Regular feeding will lead to greenish color on the leaves for a while.

Drosera capensis red form
D. capensis red form with hitchhiking D. 'Albino'.
The color isn't the only distinctive characteristic of this plant, however. The petioles and laminae are half again as long as the typical form, and overall the plant is less fuzzy. The flowers are also larger, redder, and longer-lasting than a typical D. capensis.

I have one D. capensis form based on leaf shape, the so-called "Broad leaf" form. This is another plant that is widely recognized, but not registered as a cultivar.

Drosera capensis "Broad Leaf"
A couple D. capensis "Broad Leaf" growing very well.
The coloration and general habit of the plant is very similar to the typical form, but the laminae are wider and flatter-looking. These specimens aren't as extreme in this characteristic as some I've seen online, but since this isn't a registered cultivar it's difficult to say if that's a result of different growing conditions or different clones or what. It's still a noticeable trait.

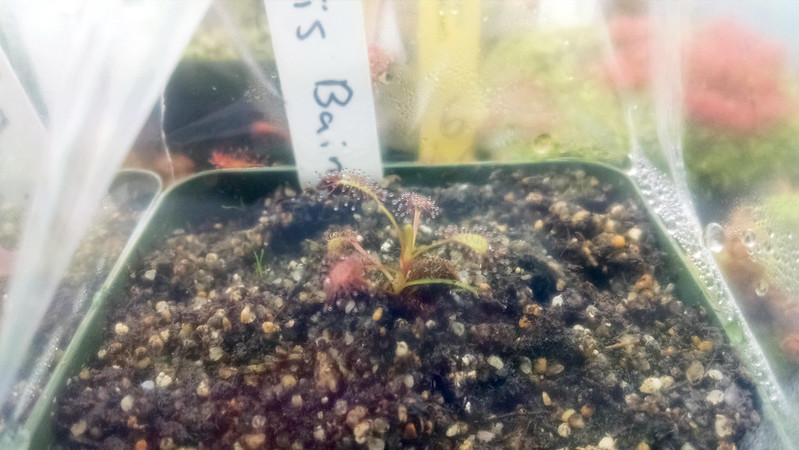
The last form I currently have is a location form, D. capensis Bainskloof. This is a particularly lovely form with a tighter rosette and a wonderful curving leaf shape. My two plantlets are too young to be showing these characteristics this far, but I'm really looking forward to growing them out.

Drosera capensis Bainskloof
Recently-fed D. capensis Bainskloof.
Drosera capensis Bainskloof
Recently potted-up D. capensis Bainskloof. Cutie!
There are several more location forms out there, as well as things called "Giant" or "Pink" or "Narrow Leaf." It's clear that there is work to be done describing this complex of plants, both on a scientific and a horticultural basis. I know I'm always looking for different varieties so I can grow them in similar conditions and see the differences. Luckily it seems like there has been a bit more attention being paid to D. capensis lately, which can only be good for the hobby. These are really wonderful plants.

Monday, November 3, 2014

Cultivation Guides: Light, part 1

 This is part of a series of posts describing various aspects of cultivation, which will hopefully be useful to new growers trying to solve the challenges of growing carnivores, and experienced growers who are always looking to improve their collection. The full series can be read here, or by topic on the Series page.
I've been trying to write a post about light for sundews (and carnivorous plants in general) for a while. I'd started several posts and then shelved the idea for later – it's a pretty big subject, and I definitely don't have the definitive word on it. However, I've been getting a number of requests lately to talk about my setup, specifically my lighting situation, so I've got to tackle it.

I'm going to make 2 posts on the topic. This one will deal with the overall importance of light, and how different light levels will affect your plants. Part 2 will deal with technical specs, including which lights I use, how I position them, and how much it costs.

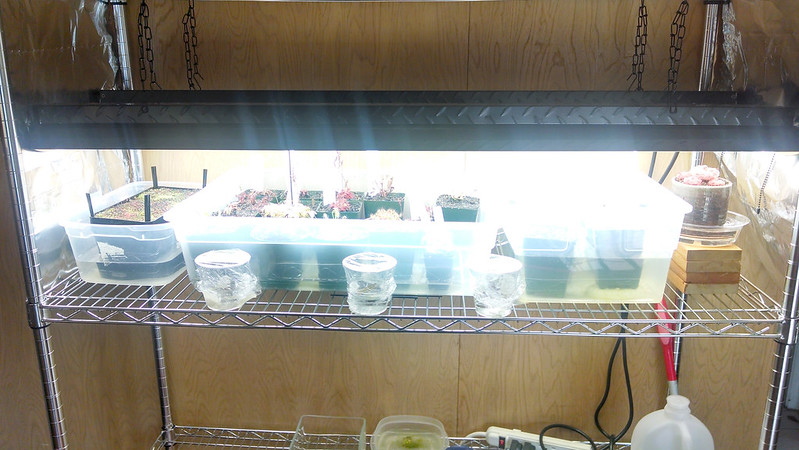
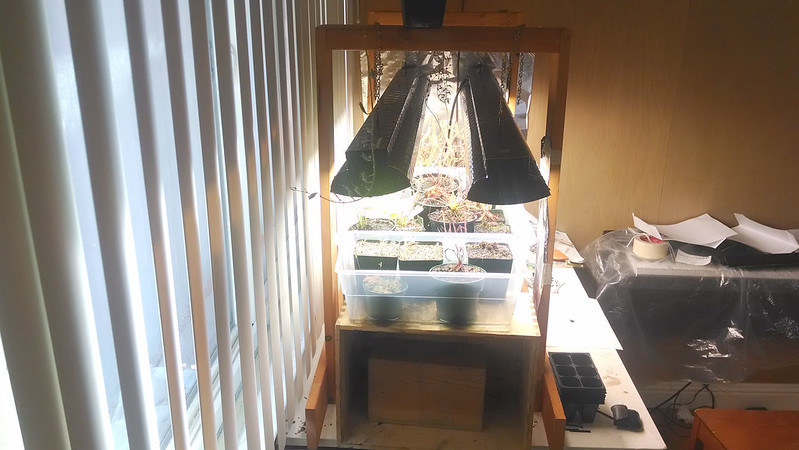
Carnivorous plants need a lot of light!

Lighting setup.
My lights light up the whole room.
Lighting setup.
It's not too expensive, but there are costs. I'll talk about that next time.
In general, carnivorous plants are found in areas that are poor in nutrients but rich in sunlight and water. That's sort of the whole thing about carnivorous adaptations: they trade photosynthetic efficiency for the ability to get nutrients from bugs.

I don't believe sundews can be successfully grown on windowsills, or even in most greenhouses. Windowsills usually only offer 3-4 hours of direct sun (at most) and the vast majority of greenhouses have some degree of shading to help manage heat. I'm far from an expert, but most pictures I've seen of sundews grown in greenhouses are under-colored with lackluster dew production. I'd love to hear from growers who have figured out how to grow Drosera in a greenhouse environment, by the way!

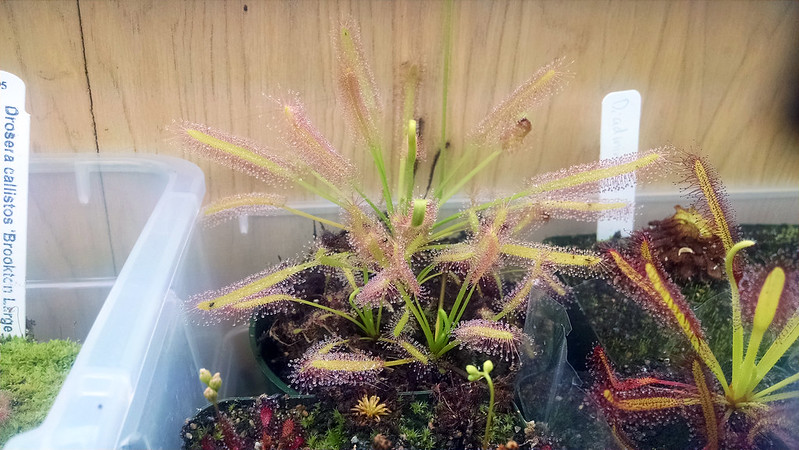
How can you tell if a sundew is getting enough light? There are 3 main things to look at: robust, upright growth; reddish coloration somewhere on the plant; and lots of big dewdrops on the leaves. Consider this Drosera capensis:

Drosera capensis.
A D. capensis growing in good light conditions is very lovely.
The leaves are upright and thick. On under-lit D. capensis you usually see the laminae (the part of the leaf with the tentacles) curving downwards (check out this photo from Wikimedia). The tentacles are deep red, and the old growth gets quite red. The dew is robust enough to stand out in contrast to the rest of the plant.

I think color is the number one indicator if you're wondering about your light conditions. Dew production can be reduced by low humidity or too much wind, and other things can mess up leaf growth, but if there is no red color on your sundew you can safely assume that it's under-lit. Even D. capensis 'Albino', a cultivar that is defined by its lack of red pigment, gets a pink blush in the tentacles if properly lit.

Drosera capensis 'Albino'.
This plant also hasn't been fed much recently.
Of course, you need to go on a species-by-species (or cultivar-by-cultivar basis), but the above picture shows about the minimum of red coloration you should see in your plants. The Drosera adelae I recently posted about is another example of a plant that has at least a bit of red color (I would really like to see that one get redder, actually). Others, like Drosera ultramafica x spatulata and some forms of Drosera burmannii get deep, deep red in bright conditions, and having any green on the plant at all suggests it could use more light.

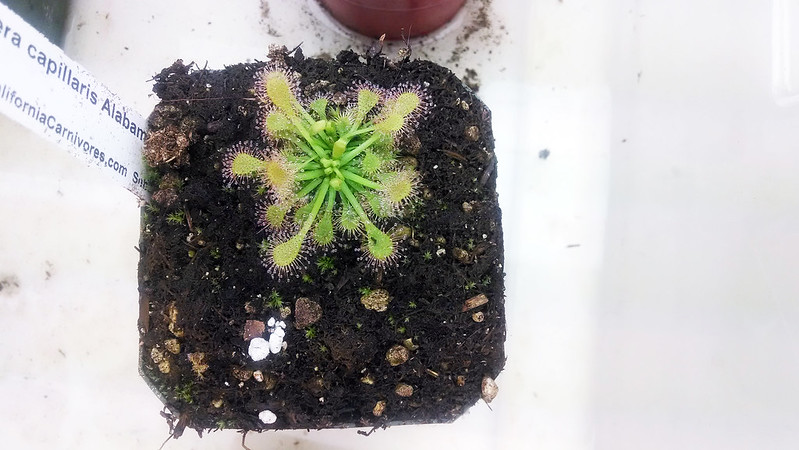
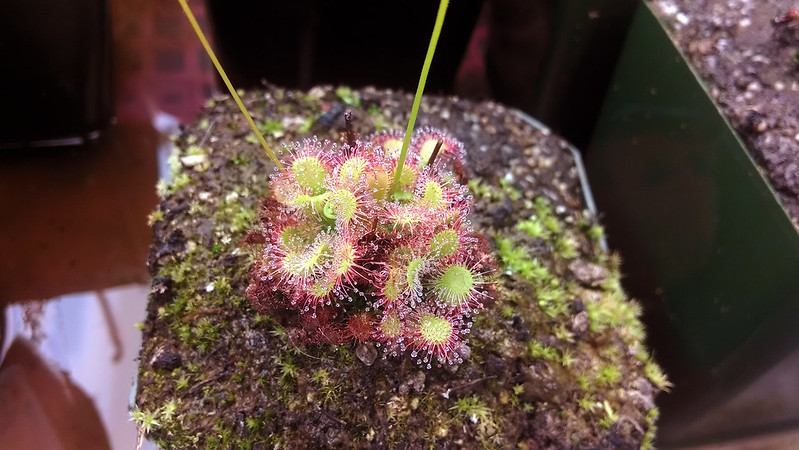
Plants grown in higher light conditions will also tend to be more compact than those that are somewhat under-lit. Consider this clump of Drosera capillaris.

Drosera capillaris.
The perspective isn't the best, but the leaves are flat against the soil.
Drosera capillaris.
With more light they get much more upright.
The first picture is from January 28th 2014, shortly after I bought it from California Carnivores at the winter BACPS meeting. The second picture is May 23rd. The color is certainly a lot better. Also the petioles are shorter, and the plant is smaller over all. Now, I've heard things about growth habit like this being influenced by light spectrum, with blue light affecting growth differently than red light. This is still something I'm investigating, and frankly I don't have the resources to test it thoroughly. Still, the tendency I've seen is for plants to get more compact under brighter light.

Providing a proper amount of light is one of the most important things you can do to make sure your plants stay healthy. Light-stressed plants are more susceptible to water stress and pests, and are harder to keep in cultivation. When looking to perfect your growing environment solving the light question is one of the most important to answer.

More to come in part 2.

Wednesday, August 20, 2014

Pinguicula gigantea is going all to pieces (it's great)

So back in May I noticed that my Pinguicula gigantea had developed a second growth point. It also started blooming back in April. Well, it's been growing and blooming continuously and doing great, and just the other day I noticed that it's split again. What a great plant!

Pinguicula gigantea with offset
One little plantlet on the left side.
Pinguicula gigantea offset.
Another little plantlet on the right.
Pinguicula gigantea flower.
And a cute little flower up top!
Of course, now I really have to divide and repot this plant. Maybe that will be my next big chore.

After taking these pictures, I decided to take a second look at all my other plants to see if there were some other offsets I hadn't noticed. I found a few!

Pretty sure this is the first proper offset from any of my Drosera capensis 'Albino'.

Drosera capensis 'Albino' with offset
Of course, I'm already awash in D. capensis 'Albino', but that's fine.
I'm not sure if the little plant here is a D. capensis red or just a stray D. capensis 'Albino' or typical seed that found its way in here.

Drosera capensis red form with possible offset
The tentacles look awfully pale to be the red form of D. capensis but I guess we'll see.
Of course, my two largest D. capensis typicals are offsetting like crazy.

Drosera capensis with lots of offsets.
This is my first-ever carnivorous plant and it's just chugging along.
Drosera capensis with offset
This plant is really glad to not be suffering outside in the wind.
I don't remember if this Drosera adelae had the offset when I repotted it, but it's certainly gotten bigger. Also, it's appreciating having been recently fed.

Drosera adelae plantlets.
D. adelae responds very well to food. I'll be looking for a growth spurt in the next week.
The Drosera tokaiensis plants in the first pic below have been growing together for a while, but the one on the right is blooming for the first time. The D. x tokaiensis sterile hybrid in the second photo may have an offset up front, or it may be a weed, hahahah.

Drosera tokaiensis and friends.
This is one of my favorite pots. I like the little plant community here.
Drosera x tokaiensis with possible offset
This hybrid has great color and is extremely bloomy.
This last is the most exciting though. I was sure I had lost this little Drosera madagascariensis seedling, but apparently the roots hung on and have started to grow a little plantlet. It's right there at the base of the dead stem. Awesome!

Drosera madagascariensis coming back from the roots.
I think D. madagascariensis is one of the cutest sundew species.
I've said this before, but I love finding surprises in the collection. It's so much fun!

Tuesday, August 19, 2014

Cultivation Guides: Plant Trading

 This is part of a series of posts describing various aspects of cultivation, which will hopefully be useful to new growers trying to solve the challenges of growing carnivores, and experienced growers who are always looking to improve their collection. The full series can be read here, or by topic on the Series page.

Trading is an essential part of the carnivorous plant hobby. There are only a handful (maybe a dozen) sundew species/cultivars that are consistently available to buy anywhere (online or at nurseries). Nepenthes and Sarracenia are a bit easier to find, if significantly more expensive. Pinguicula are difficult and Utricularia extremely difficult to find for sale, outside of one of two beginner varieties.

So basically once you start trying to expand your collection you're going to have to start trading. At first it can be intimidating – beginners don't have much trading stock, shipping plants bare root seems risky, and the plants you receive in the mail usually look all ratty. Luckily, it's much easier than it seems.

I just completed a trade with a poster on Terra Forums who was initially looking for some Utricularia graminifolia (I've had a pot for a while, though I haven't posted much about it). In order to make everything worthwhile, we wound up with me sending some U. graminifolia, Drosera prolifera, Drosera filiformis Florida Red, and Drosera capensis 'Albino' and receiving Drosera affinis, Pinguicula 1717, Drosera capensis Bainskloof leaf cuttings, and seeds of Drosera sessilifolia and Drosera burmannii Giant Red (Hann River, Kimberley, WA, Australia). This was a very exciting trade for me, since I've been looking for D. capensis Bainskloof and D. sessilifolia for some time.

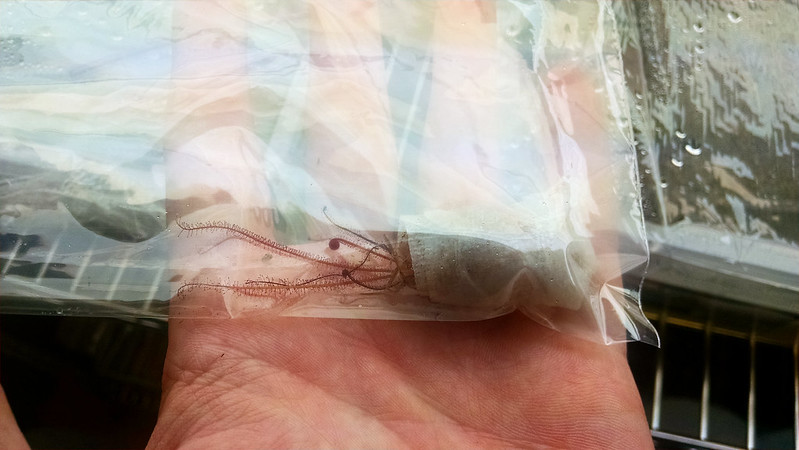
First up, sending plants. Sundews should be shipped bare root, with as much media rinsed off the roots as possible (this helps prevent accidentally spreading weeds or pests). These should then be wrapped in a portion of wet long-fiber sphagnum, and wrapped again in a damp paper towel. This can be placed in a plastic baggie. See below
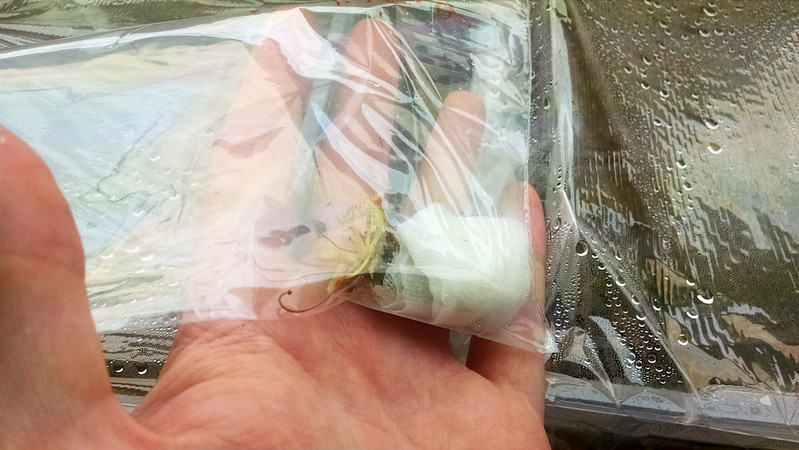
Drosera prolifera ready to be shipped
D. prolifera plantlet, off to a new home.
Drosera capensis 'Albino' ready to be shipped
D. capensis 'Albino' is the largest plant I shipped today.
Drosera filiformis Flordia Red, ready to be shipped
Once again, D. filiformis Florida Red proves to be popular trading material.
For terrestrial Utricularia it's a little different. In their case, just dig out a plug of plants and media from your pot, and wrap it in a damp paper towel to hold it together. Then, into the baggie.
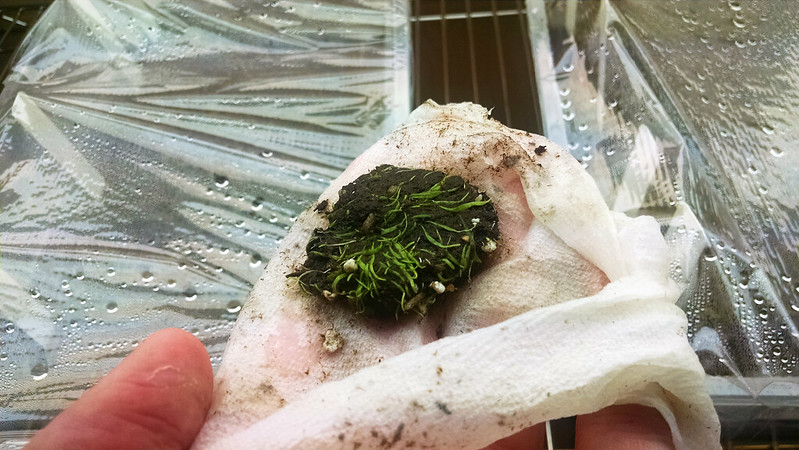
Utricularia gramnifolia plug
This is about the size of the plug of U. graminifolia that I started with.
Utricularia gramnifolia ready to ship
All wrapped up safe.
Make sure to label all your plants clearly with as much information as possible. Species, cultivar, location data, etc. are all important pieces of information for the future owner. Once you've done that, it's time to pack up and ship.

I use the USPS small flat-rate Priority mail boxes.

Small flat rate box
Non-flat rate boxes can be affordable, but they're less predictable.
The boxes themselves are free, and shipping is only $5.80 for guaranteed 3-day delivery. That's about the sweet spot for shipping plants – anything quicker is exorbitantly expensive, and going cheaper puts the plants at risk with long shipping times. I find I can usually fit 3-4 smaller-sized plants in one box. If I were shipping mature specimens of larger species I'd have to use a different container.
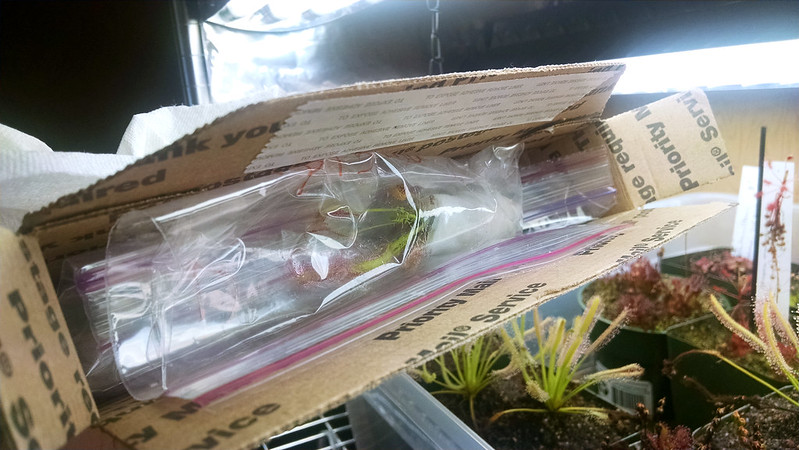
Flat rate box all packed.
I like to cushion my boxes with dry paper towels if I don't have other packing materials.
It's always best to ship at the beginning of the week, so that plants don't sit around in a post office over the weekend. Also keep the temperatures in mind – plants can be lost to freezing or baking hot weather on the receiving party's end.

When you receive plants in the mail, it's important to pot them up right away. They're probably stressed out from shipping, and getting them settled in quickly will make a big difference in how quickly they bounce back. It's good to have some media prepared in advance.
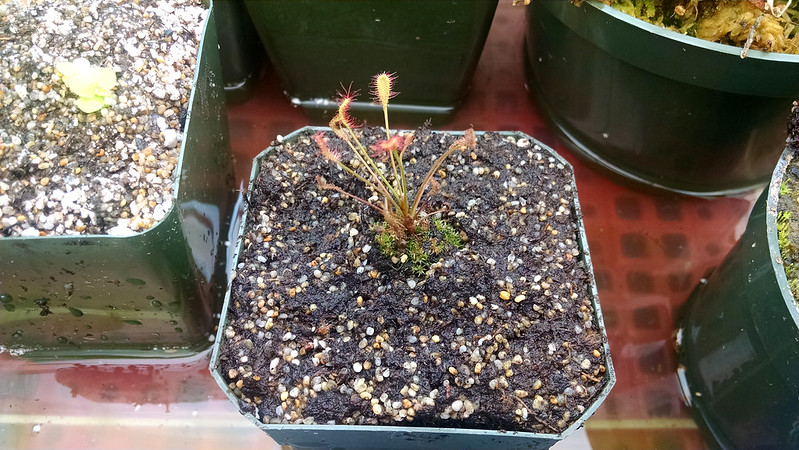
Drosera affinis
Looking forward to seeing this D. affinis get bigger.
Pinguicula 1717
This media has a lot of perlite in it for these pings.
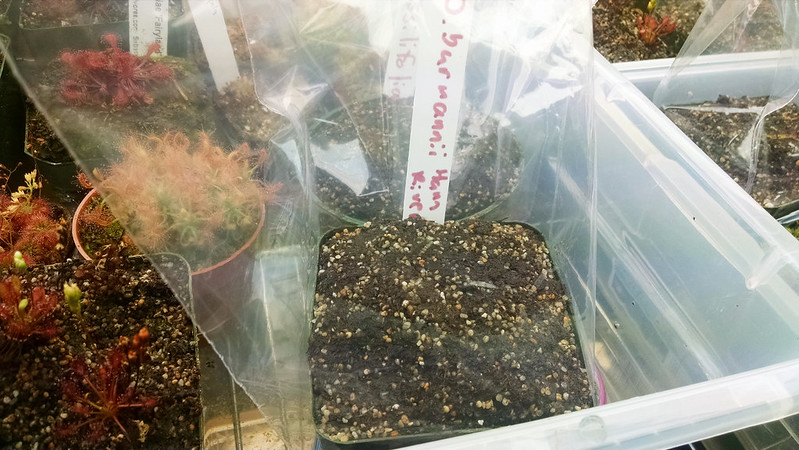
One thing that I've come to find really helps my plants recover from any stressful situation, be it shipping or repotting or whatever, is much higher humidity. Therefore I now put a plastic baggie over the pots of my new acquisitions. This is also useful as insurance in case the plants you receive were accustomed to much higher humidity than your setup provides – the humidity tent allows them to be hardened off slowly, rather than potentially shocked to death.
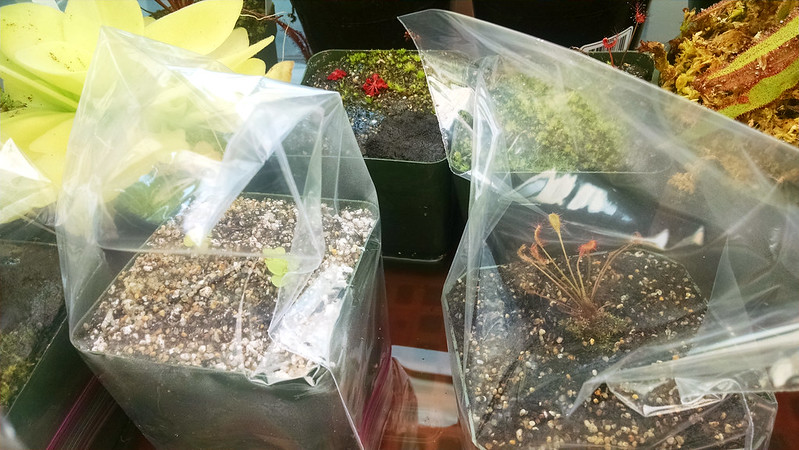
Drosera affinis and Pinguicula 1717 in humidity tents.
I really like using humidity tents.
Since I received 2 leaf cuttings of D. capensis Bainskloof I decided to start one in water, and one on the media. This provides a bit of insurance in case one technique fails utterly.
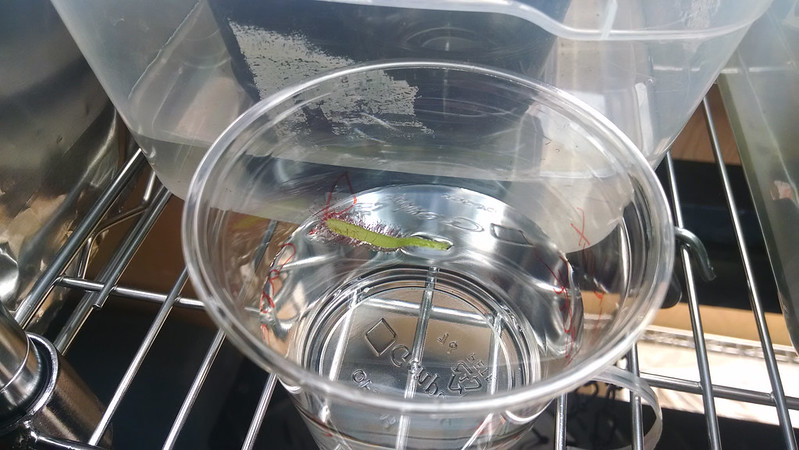
Drosera capensis Bainskloof leaf cutting in water
I've not had much success with the water-float method and D. capensis previously, but maybe this time will be different.
Drosera capensis Bainskloof leaf cutting on media
My fingers are seriously crossed for this leaf cutting.
Finally, shipping seeds. Sundew seeds are tiny, sometimes hilariously tiny, which means shipping them safely can be a challenge. My personal favorite method is to make seed packets out of parchment paper, and envelopes out of printer paper. That way there is no tape or glue to catch the seeds, and the tension of multiple folds keeps the seeds well-contained. The fellow I traded with used pieces of rolled and then folded paper and tape that actually worked pretty well, but I still think the above method is the best I've seen.
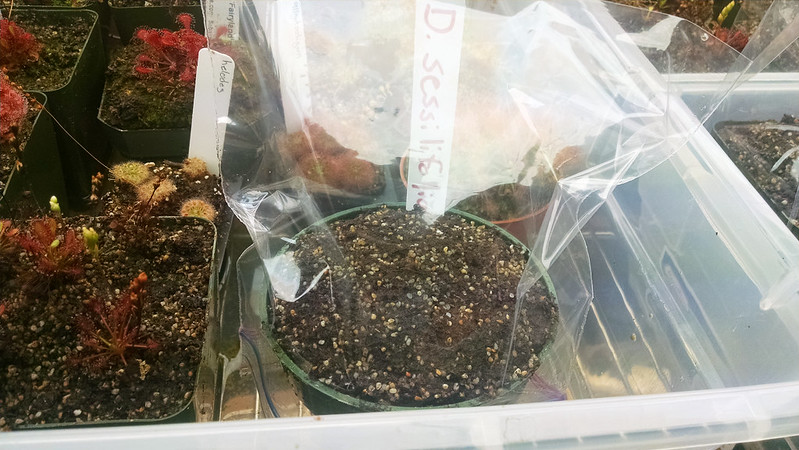
Drosera sessilifolia seed starts
Super pumped to be growing D. sessilifolia. Ever since I learned about its relationship with D. burmannii I've wanted some.
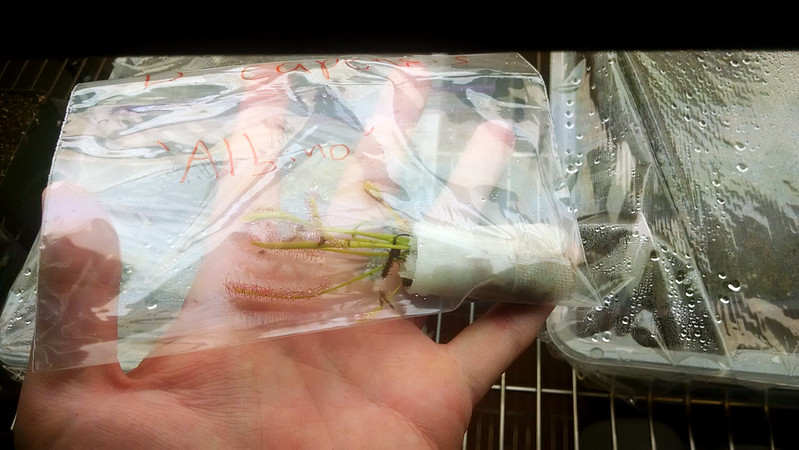
Drosera burmannii Giant Red (Hann River) seed starts
This is a different locality than my D. burmannii Humpty Doo, but I suspect it will look fairly similar.
Finally, remember to label your plants! Eventually you're going to reach a point where you no longer remember what's in each pot. Labeling will help you stay organized and make it much easier to trade in the future (nobody wants an unidentifiable mystery plant).

Happy trading.