Wednesday, April 30, 2014

Terrestrial Utricularia

Utricularia are the most widespread and diverse of all carnivorous plants, even more so than Drosera. Also known as bladderworts, for their bladder-like traps (which are worth reading about on Wikipedia, though I won't go into it here), they are typically grown in cultivation not for the traps (which are usually hard to see) or their foliage (which ranges from "almost invisible" to "somewhat interesting"), but for their flowers. The most impressive species are from section Orchidioides, which are – alas – among the more difficult to grow. However, even the easy (and sometimes weedy) terrestrial Utricularia can have charming displays of flowers. I like to grow them because they're peculiar and a little offbeat, and I can dream about a nice big bloom show to share with people someday.
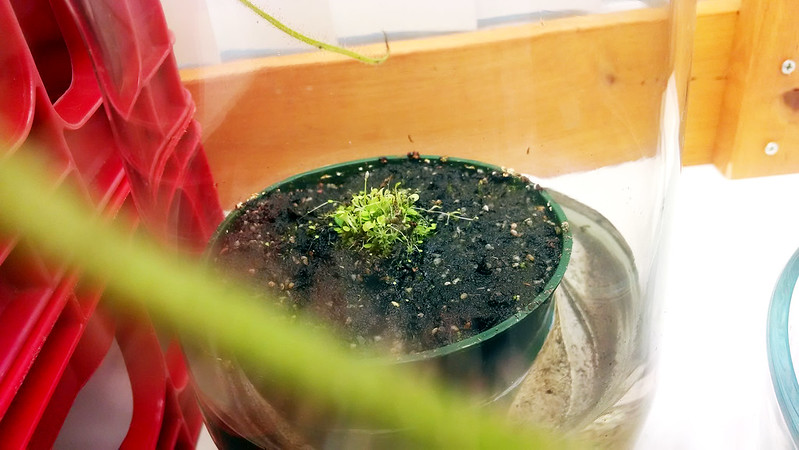
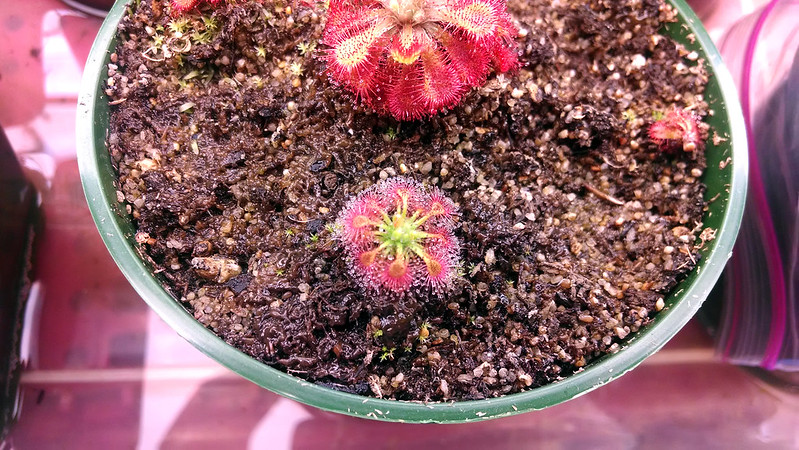
Utricularia sandersonii, blue form
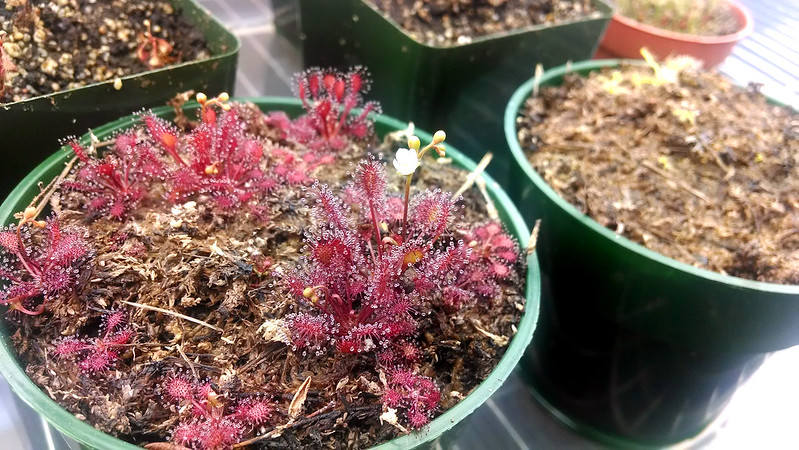
A small but healthy plug of U. sandersonii blue.
This is Utricularia sandersonii, the blue-flowering variety. U. sandersonii are sometimes referred to as "angry bunnies" because of the shape of their flowers. I bought this chunk from Natch Greyes a couple months ago, and it has held steady and shown some slight growth. The U. livida I got at the same time is doing great, but this is just fine. I'm sure it'll take off eventually.
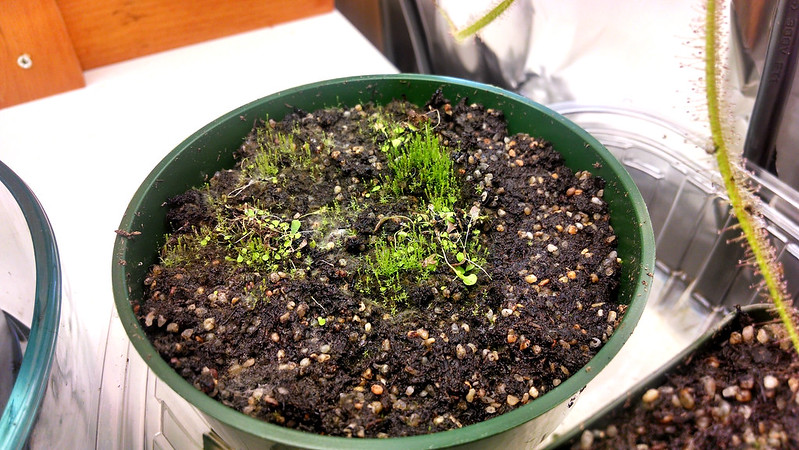
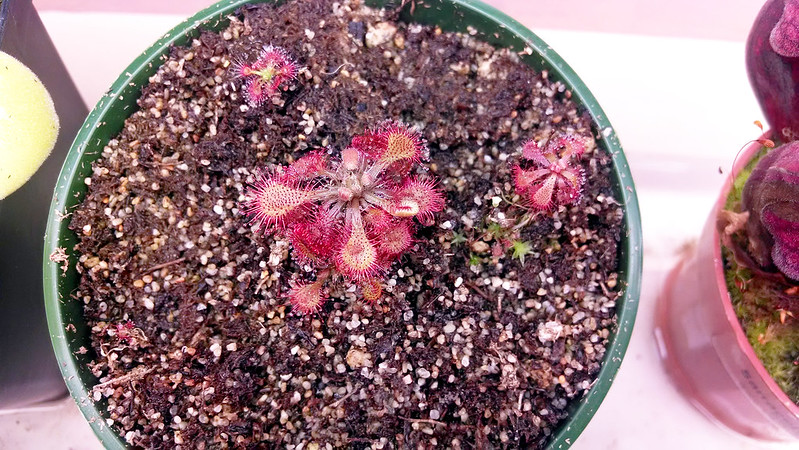
Utricularia sandersonii, typical form
Typical U. sandersonii bouncing back from a rough time in transit.
This typical form of U. sandersonii I got in a giveaway over at Terra Forums. I think it sat in my garage for a day or two because no one told me it had been delivered, so it was a bit more beat up than the blue form. It's got some new growth, and also has plenty of mosses growing to keep it company (heh).
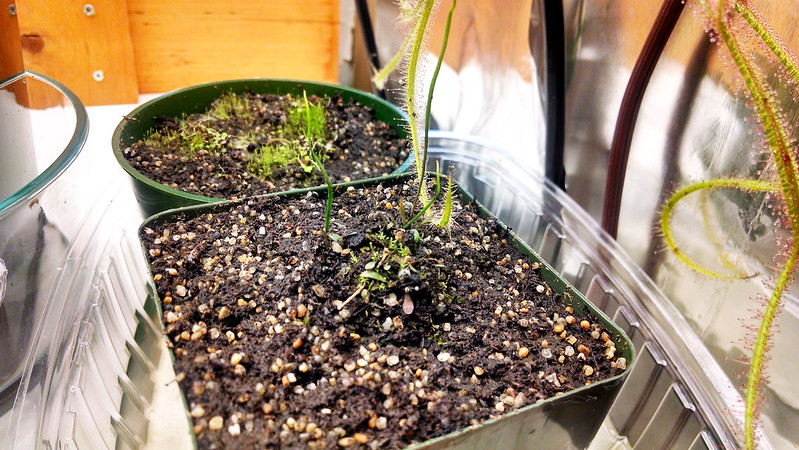
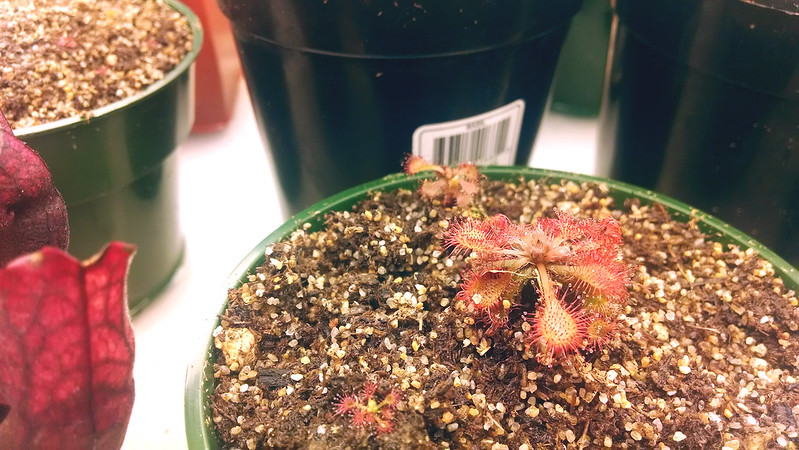
Utricularia praelonga
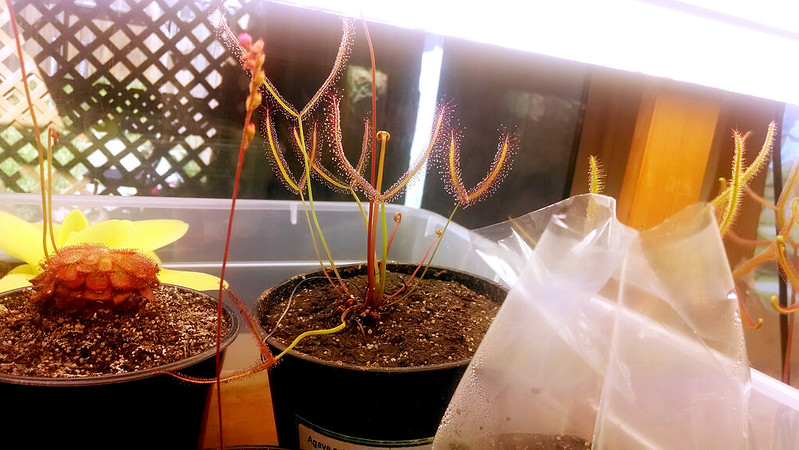
The peculiar leaves of U. praelonga are cool, although apparently it's difficult to get to flower.
Utricularia praelonga is an odd species that produces two kinds of leaves – the typical terrestrial utric leaves, as seen on the U. sandersonii and U. livida, and also long, grass-like leaves. This one I received in a trade for a couple of my D. burmannii seedlings.
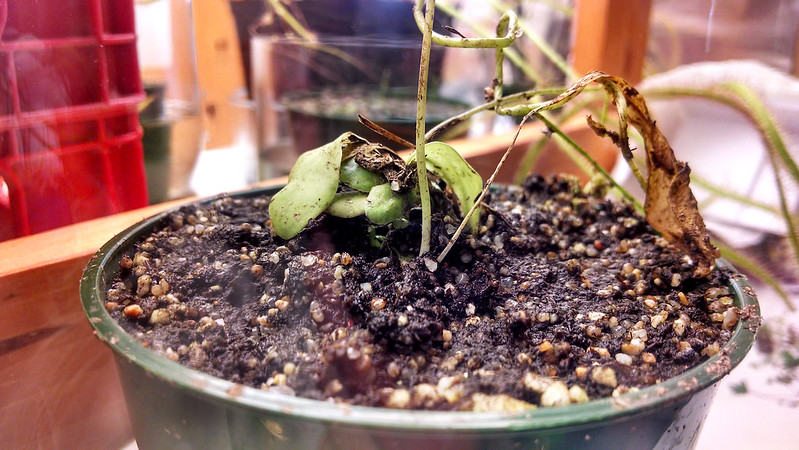
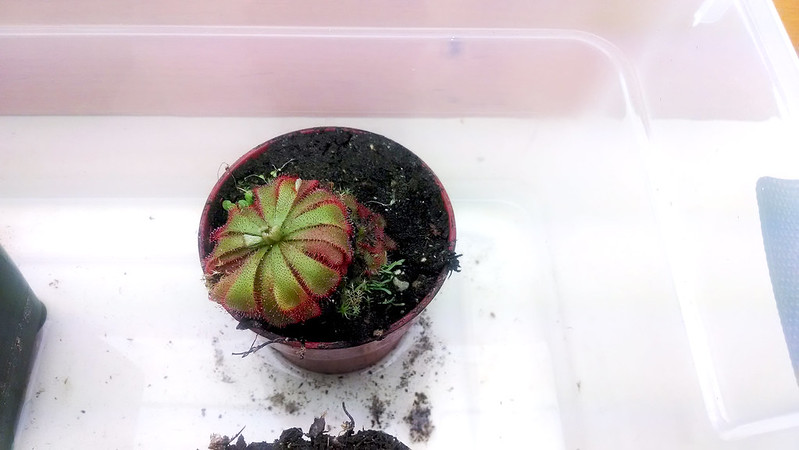
Utricularia calycifida
U. calycifida looking a bit beat up from shipping.
My newest Utric is U. calycifida, which I received in the NASC auction (I still need to make a post about those plants, now that they've all arrived). It's still recovering from shipping, but is a very nice specimen. U. calcyfida has largish leaves and long flower stalks, when you can convince it to bloom. Very much looking forward to it settling in.

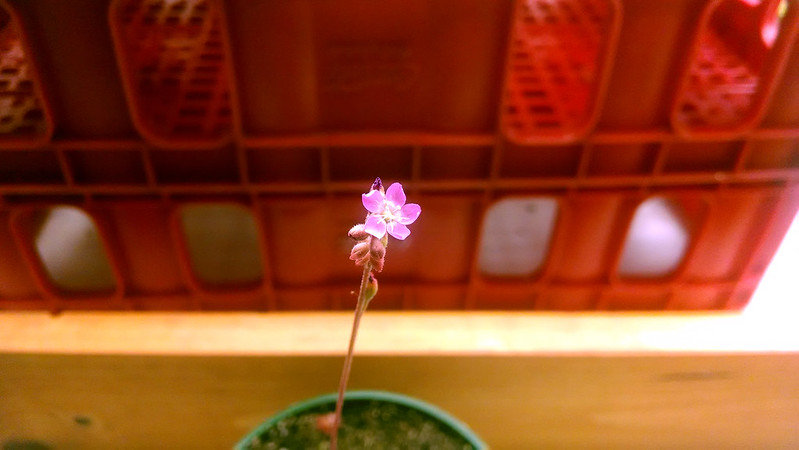
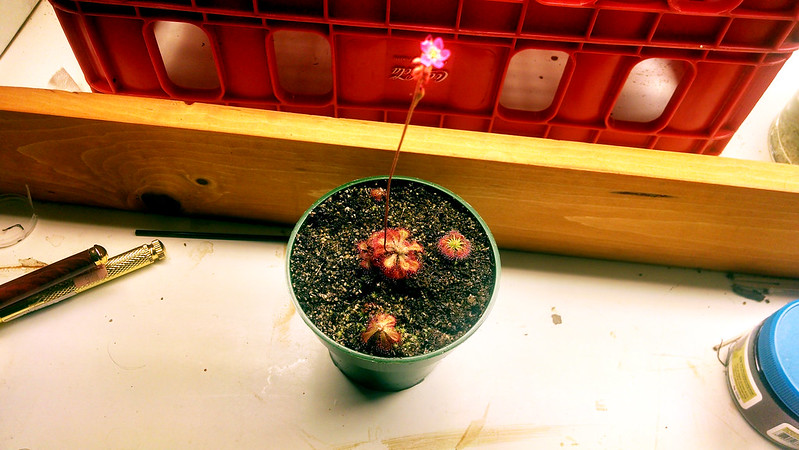
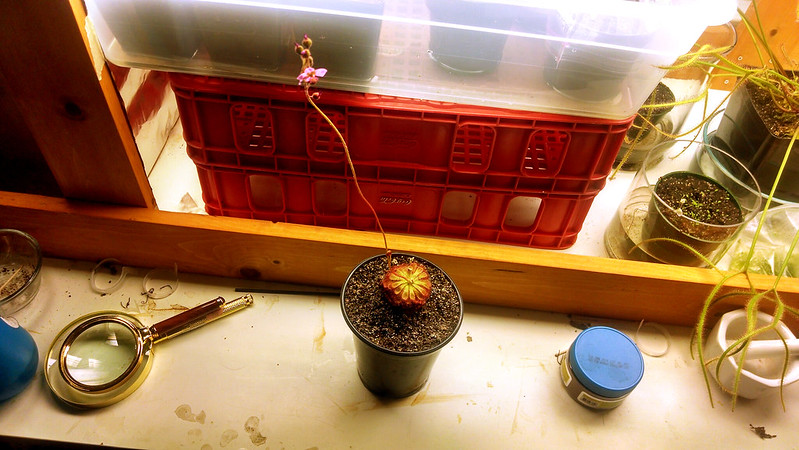
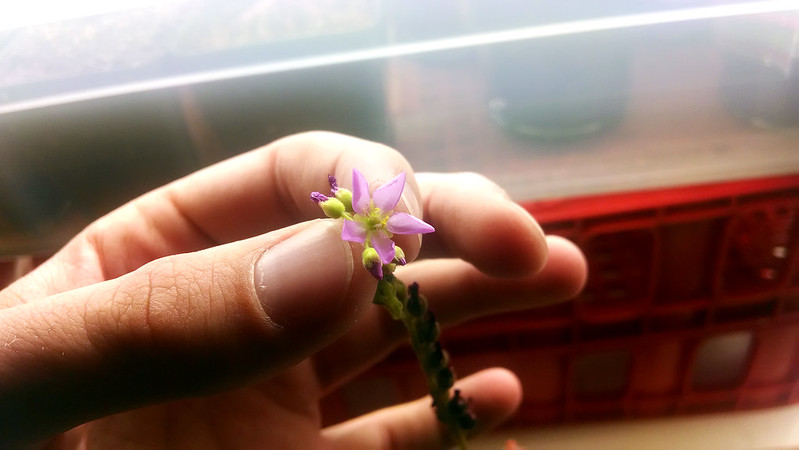
My Utricularia livida is the only one I've posted about before, on account of it having popped out a bloom on one of its old stalks. Here's that stalk now, with two tiny flowers.
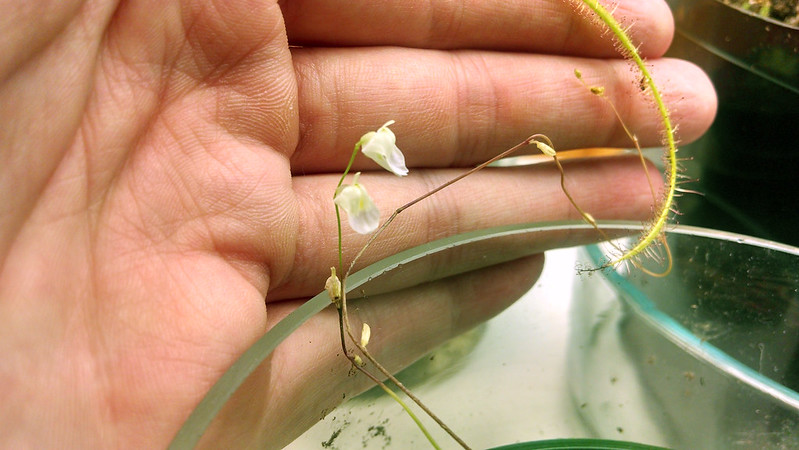
Utricularia livida flowers.
Itty bitty U. livida flowers.
But the really exciting thing is clear when you look much closer.

Utricularia livida with new flower stalks.
Someday I want a healthy carpet of foliage and full stand of flower stalks from this U. livida.
Three new scapes coming up! It's also really filling up the pot, which is great. This is supposed to be a very weedy species, which is fine, since it's in its own container. That just means it will fill out better. Really looking forward to seeing these develop further.

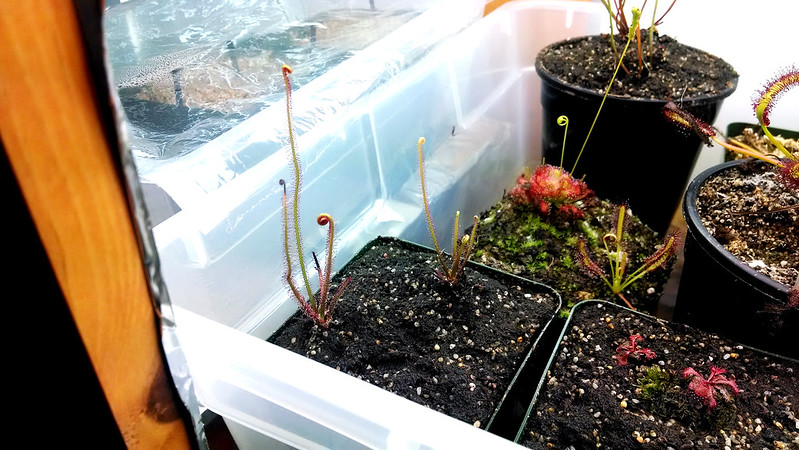
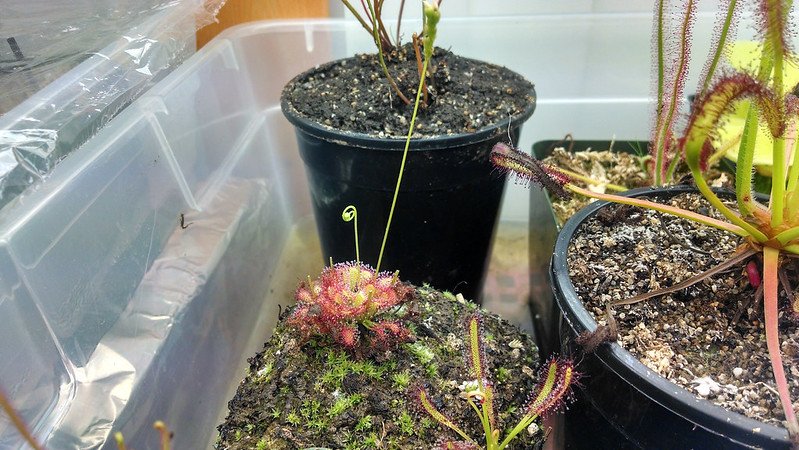
Speaking of containers, here's a shot of where I grow my Utrics.
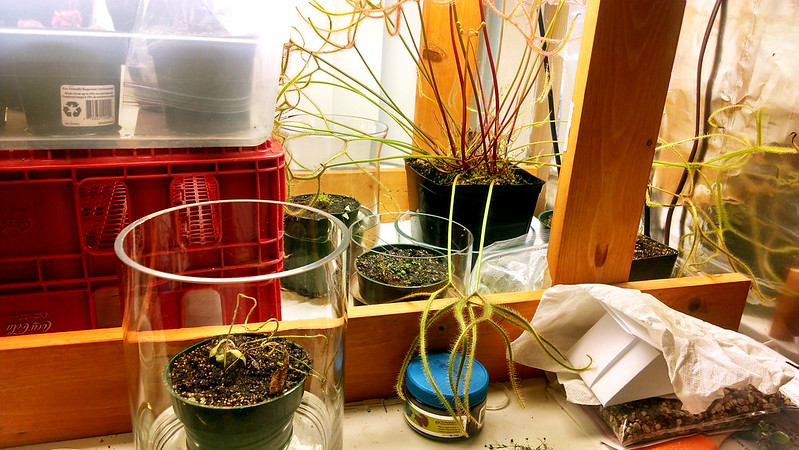
Utricularia growing area.
My (somewhat messy) terrestrial Utricularia area.
As you can see, there are individual glass containers for each specimen (almost – the U. praelonga and U. sandersonii typical are bunking together right now). This is somewhat inefficient in terms of space, but it keeps them from infesting other pots, and will make for handsome displays once they start blooming (it's important to think positive). Also these glass things can be found for cheap if you keep an eye open.

On a final note, my Sarracenia are developing nicely, and originally I'd hoped to post about them today. However, the gods of photography frowned on my attempts to get decent closeup shots (the camera software on my phone is terrible), so all I have is one peek at Sarracenia minor. It's getting there!
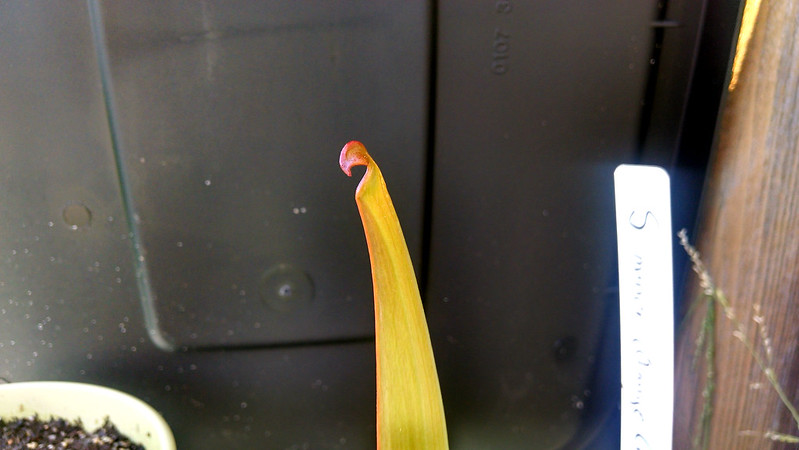
Sarracenia minor pitcher almost developed.
S. minor with some decent coloration going. Looking forward to seeing full pitchers!
The S. flava and S. leucophylla each have pitchers almost 18 inches tall right now, but we'll have to wait for different conditions to get a photo.

Alright. It's extremely hot now, and my bedroom gets afternoon sun. I'm going to retreat to the garage, which stays cool, and read a book. I hope my D. spiralis can handle a couple days of heat before the temperature drop this weekend.

Tuesday, April 29, 2014

I came home to a present

For the last couple days my girlfriend and I were camping and hiking at Pinnacles National Park. For anyone in the central-ish part of California, Pinnacles is an amazing visit – stunning topography, lots of good hiking, and a whole host of interesting plants to admire, many of which were in bloom. Also there were more birds singing at dawn than I've ever heard in one place before. It woke us both up, and was incredible to hear.

In any case, after a nice vacation spent getting sunburned and footsore (in the best possible way) we got home this afternoon, and were greeted from across the room with this:

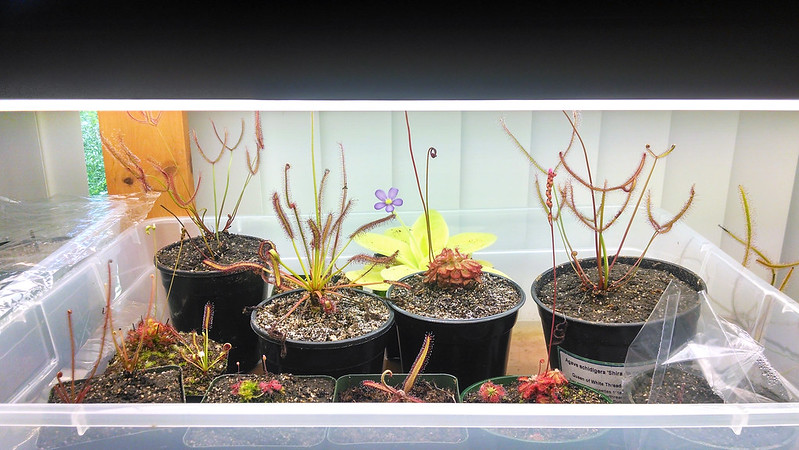
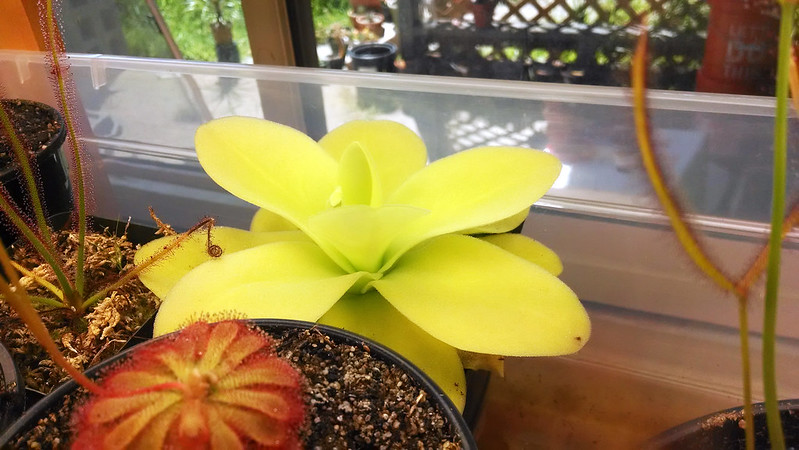
Pinguicula gigantea flower among various sundews.
Pinguicula gigantea flower in the tray. I love how it's right in the middle, like a star.
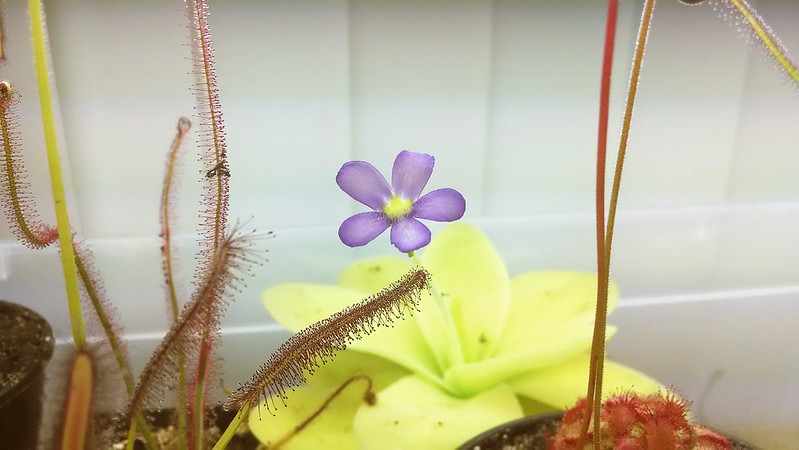
The Pinguicula gigantea bloom I mentioned a week ago is open and showing off right in the middle of the tray. Pinguicula flowers are bilaterally symmetrical, like orchids (and unlike sundews). Most commonly they're purple or lilac, and are fairly long-lived (if you don't hand-pollinate them). The P. gigantea flower isn't the most spectacular in the genus, but it's very lovely in its own right.

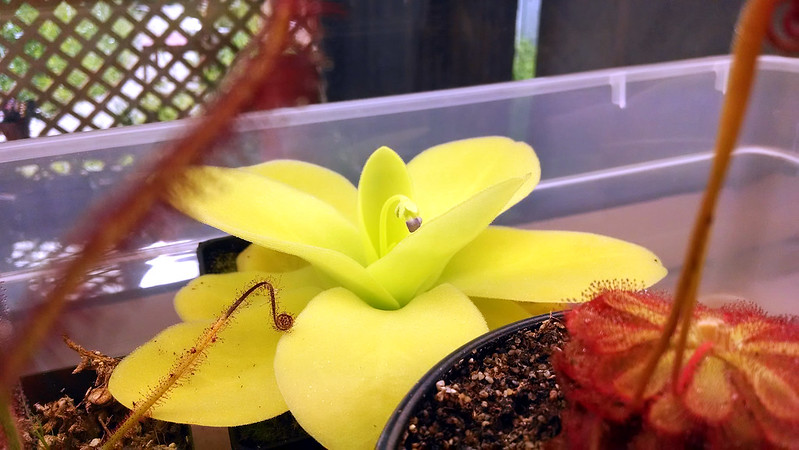
Pinguicula gigantea flower close up.
It was not particularly easy to get this P. gigantea flower closeup.
If you look closely at the crown of the plant, you can see a second flower stalk coming up as well. I tried to photograph it, but couldn't get a good shot. No matter.

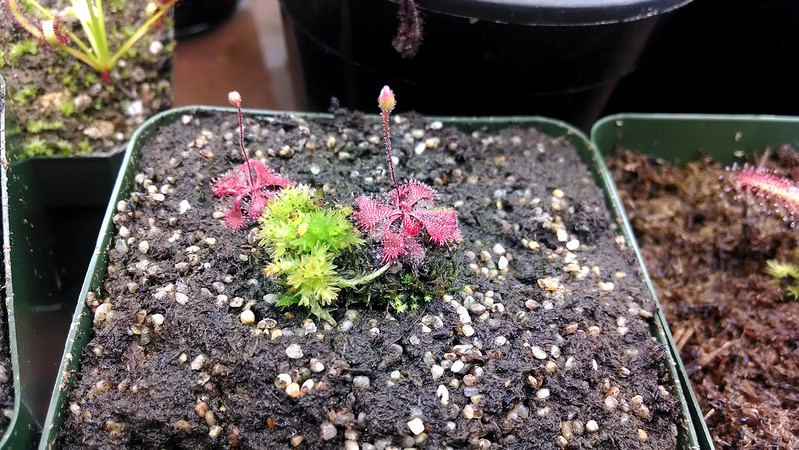
There are a couple other treats in my collection besides the big pretty Ping flower. First, my Drosera brevifolia seem to have settled in nicely, and have both bloomed (or are about to do so) themselves.

Drosera brevifolia with flower stalks.
These D. brevifolia started sending up flower stalks right after I potted them up, but they're looking much better since last week's feeding.
I got these in a trade some weeks ago, along with that chunk of Sphagnum moss which seems to also be responding well to the conditions (I may have to thin it out if it starts growing seriously, since those D. brevifolia are quite small, perhaps even smaller than a dime). I don't know if D. brevifolia is self-fertile, but I guess I'll find out in a few weeks.

Finally, my D. filiformis plantlets are really taking off.

Drosera filiformia plantlets.
Looks like I'll be getting at least 3 plants out of this D. filiformis cutting. Good deal!
I suspect it was the feeding that did it – I fed these (and the rest of my dews) about a week ago, and since then they've almost doubled in size. You can't underestimate the power of regular feeding for your sundews!

All in all, its nice to be home.

Sunday, April 27, 2014

Update: Drosera 'Marston Dragon' leaf cuttings

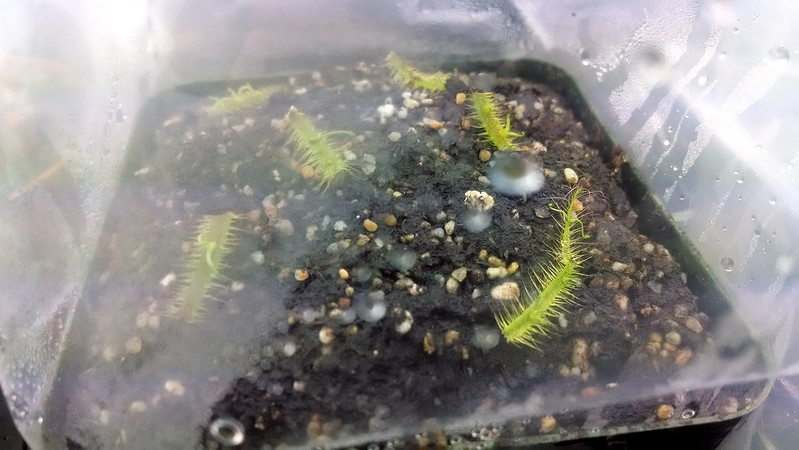
About a month ago I started some leaf cuttings of Drosera capensis and Drosera 'Marston Dragon' using the water-float method. Well, a week ago I noticed strikes on the D. 'Marston Dragon' cuttings, and yesterday I transferred the contents of one of the cups onto a pot to start rooting. The D. capensis has failed to strike, and I don't know if it'll do anything. Oh well.

Drosera binata 'Marston Dragon' leaf cuttings.
Drosera 'Marston Dragon' cuttings. I cut the cuttings further so they could lie mostly flat on the media.
I read some stuff online that suggested that one typically experiences some losses in the transfer process from the water to the peat, which isn't super surprising. I've got a Ziploc bag humidity tent going to hopefully minimize those losses.

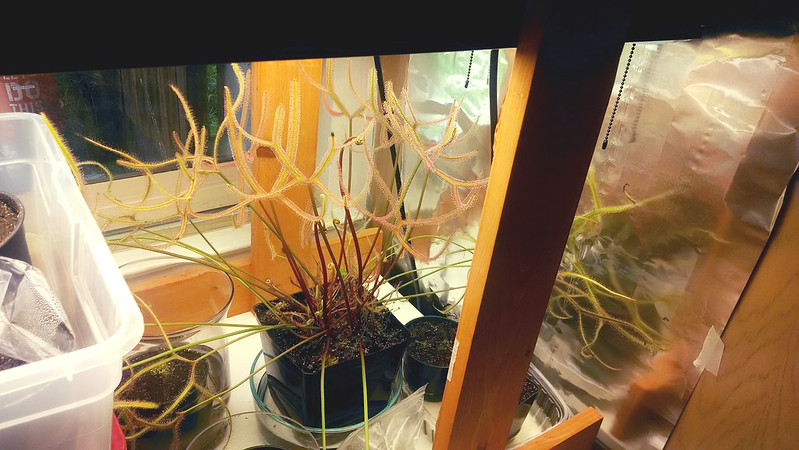
In the meantime, my parent plant is doing pretty dang well.

Drosera binata 'Marston Dragon' respond well to high light conditions.
Drosera 'Marston Dragon' – upright, dewy, and nicely-colored.
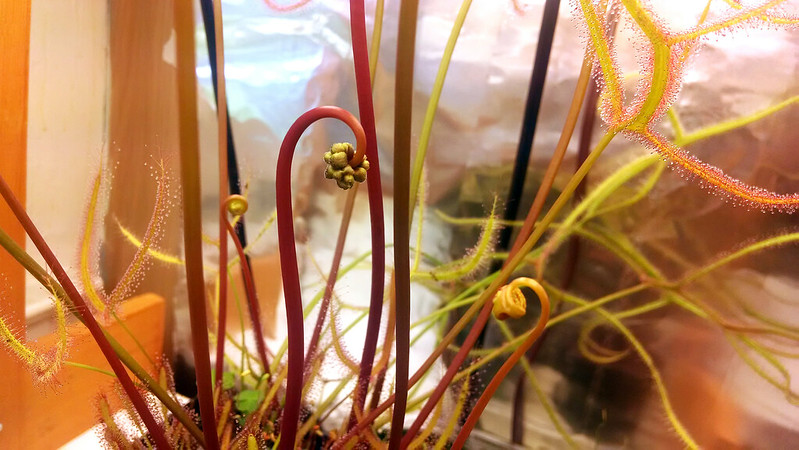
The new growth is satisfyingly upright, and more compact/dense than the leaves it had when I brought it home from the Cactus Jungle. It's also dewy as heck. This supports some observations I've made about how high light levels effect Drosera growth, which is something I still plan to post about. Two of the growth points have also decided to flower, and the flower stalks are thick and meaty, perfect for cuttings.

Drosera binata 'Marston Dragon' flower stalk.
Flower stalk uncurling on D. 'Marston Dragon', along with a new leaf on the right.
The other one is even more developed. I'm going out of town for a couple days, so I hope it doesn't bloom before I get back, or at least not too much.

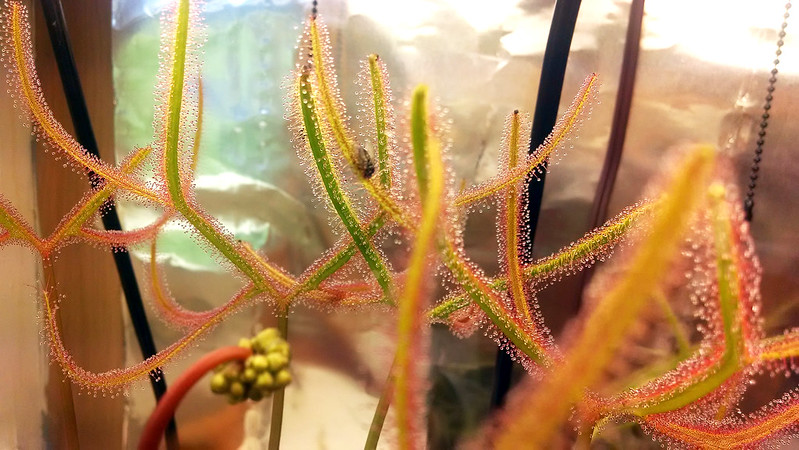
The D. 'Marston Dragon', interestingly enough, is the only one of my sundews to have caught any houseflies in the last couple months. It's certainly one of the dewiest plants I have, and easily the biggest, which is probably why. I bet that dense tangle of laminae is what Doom looks like to the genus Musca.

Drosera binata 'Marston Dragon' with housefly.
Caught fly. It's good it catches flies, since I don't feed it too often.
My girlfriend confirms that we definitely have fewer flies in the house since I've started growing this plants. Excellent side benefit!

Thursday, April 24, 2014

Plant Profile: Drosera allantostigma

This is part of a series of posts describing my experiences with different species, their culture requirements, and photos of their growth in my collection. The full series can be read here, or by species at the Series page.

Drosera allantostigma is a pygmy sundew from Western Australia, and is one of the most delicately lovely sundews I grow.

Drosera allantostigma, a pygmy sundew, on 4-11-14.
D. allantostigma on 4-11-14. I know I refer to sundews as "gem-like" a lot, but this one definitely deserves it.
It has narrow petioles of pale green, nearly round laminae with strikingly red tentacles, and is roughly the size of a penny. When mature it supports lots of active leaves – mine has more than 12, maybe as many as 16 – which makes it almost perfectly round. It's really beautiful.
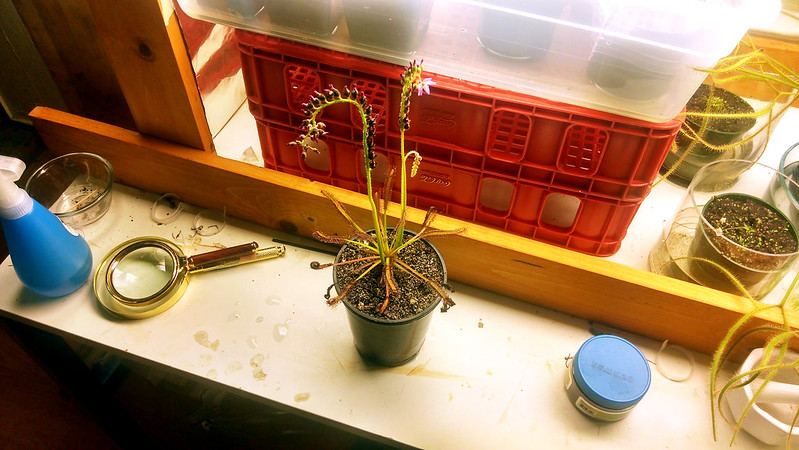
I got this plant by accident, when I won a mystery sundew (which later turned out to be D. aliciae) at the winter BACPS meeting. The D. allantostigma was wedged up against the D. aliciae, along with a D. tokaiensis and a couple of seedlings.

Mixed pot of sundews, including Drosera aliciae, Drosera tokaiensis, and Drosera allantostigma.
This pot of mystery plants was my best acquisition at the winter BACPS meeting.
Luckily, I didn't know that one of the sundews in there was a pygmy, or I would have worried too much about repotting – conventional wisdom states that pygmies hate having their roots disturbed, and that repotting frequently leads to death. I guess I got lucky, because my plant handled the disturbance with grace, and has been growing easily ever since, although I hope I can avoid repotting it again.

Drosera allantostigma, a pygmy sundew, on 2-15-2014
D. allantostigma on 2-15-14, shortly after repotting. Tiny!
Being a pygmy sundew, D. allantostigma will (hopefully) produce gemmae in the autumn, which I intend to harvest and sow. I understand the plant requires seasonal cues for this, but perhaps being by the window and getting daylight light color changes will be enough. If not, I fully intend to track down some gemmae from other growers.

Drosera allantostigma, a pygmy sundew, on 3-1-14
3-1-14, now clearly distinct from the other residents of the pot.
Pygmy sundews do not have particularly stringent growing requirements. My D. allantostigma is sharing a pot with D. tokaiensis and D. aliciae, two famously weedy beginner species, and is doing at least as well, if not better, than they are. I understand that particularly high temperatures can lead to dormancy, but I'm unlikely to see that in my conditions, unless we have a really surprising heatwave. It's a large tray, so the humidity is decent, but not super high (I need to get a hygrometer). The media is a standard 1:1 peat:sand mix, and the lights are on 16 hours a day.

Drosera allantostigma, a pygmy sundew, on 3-15-14
D. allantostigma, 3-15-14. Some of its most attractive features, like the extra long tentacles at the tips, are becoming visible.
I highly recommend this species to new growers. When I first got it in January it was small enough to be almost indistinguishable from the other seedlings in the pot, so I presume it was recently sown as a gemma. Five months of hands-off cultivation and steady growth later, and it's one of the most delightful plants in my collection. It's also really cute when fed.
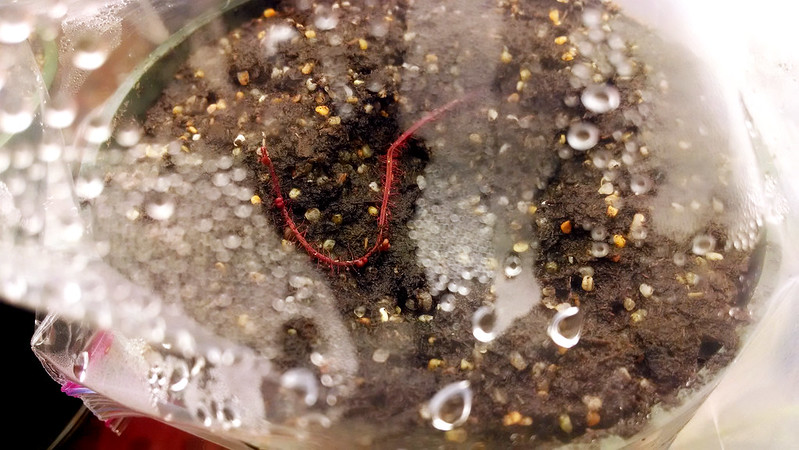
Drosera allantostigma dramatically curling around food.
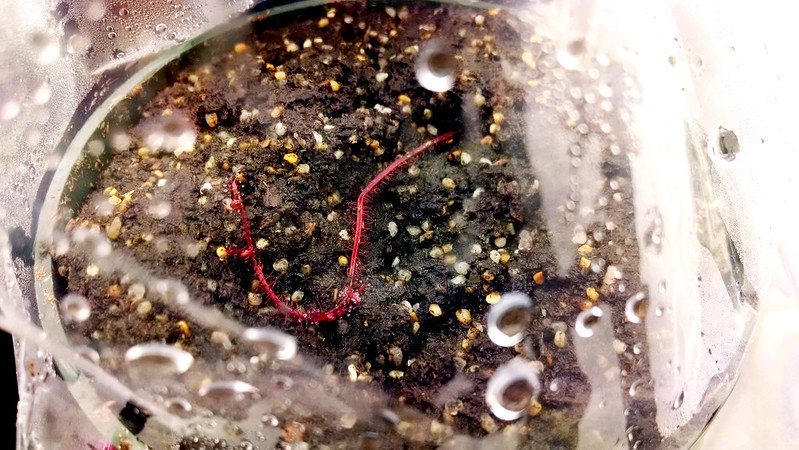
D. allantostigma curling dramatically over food. I am so taken with this sundew.

The Breakdown

  • media: 1:1 peat:sand. I used high-quality (and expensive) peat, so moss growth has been minimal. The bulk product I use now would probably need to be washed extra well or topped with a small layer of sand to keep the moss down
  • light:  6 four-foot T-8 bulbs, 16 hrs./day. Like almost all sundews, as much as you can provide is probably best. Most pygmies can be grown outside in appropriate climates
  • water: tray works well, has tolerated brief periods with the tray almost dry
  • temperature: avoid excessive heat if you want to avoid dormancy. Don't let it freeze either
  • feeding: every 2-3 weeks if possible; use pygmy-sized bites
  • propagation: no experience so far

Tuesday, April 22, 2014

Pinguicula gigantea and other blooms

I noticed something exciting on my Pinguicula gigantea. First of all, it's bigger than I remember last checking, although I don't have many photos to compare it with. At the very least it's looking quite happy. Probably growing some larger summer leaves.

Pinguicula gigantea in the tray.
Pinguicula gigantea splaying out a bit. It's sort of hard to get a good picture of this Ping because it's all one color and its outline is fuzzy.
Second, do you see anything peeking out from the crown of the plant? Let's take a better look.

Pinguicula gigantea with flower stalk.
Flower stalk on P. gigantea making it even more adorable.
It's a flower! I hope the flower stalk grows longer, so I can see it a bit better. I also hope it hasn't bloomed out already – this is my first Ping bloom so I don't really know how it goes. At any rate, it seems to like my conditions well enough, which is great. I haven't blogged much about my P. gigantea, but it's one of my girlfriend's favorite of my plants. I think she partly likes it because of the cute, almost fuzzy-looking leaves, and partly because she finds the common name – Giant Butterwort – hilarious.

I also managed to catch one of my Drosera intermedia 'Cuba' plants with an open flower today. I've counted at least 5 seedlings with flower stalks, which is quite exciting.

Drosera intermedia 'Cuba' in bloom.
Tiny flower on D. intermedia 'Cuba'. The plants have gotten quite red since last I fed them.
Finally, that Drosera binata var. multifida f. extrema with the flower stalk I keep threatening to cut has been rewarding my procrastination with lovely, fully-open blooms 2 days running now. First, here's the plant with the stalk going up the middle.

Drosera binata var. multifida f. extrema in the tray.
Drosera binata var. multifida f. extrema. Very pleased with how it's doing!
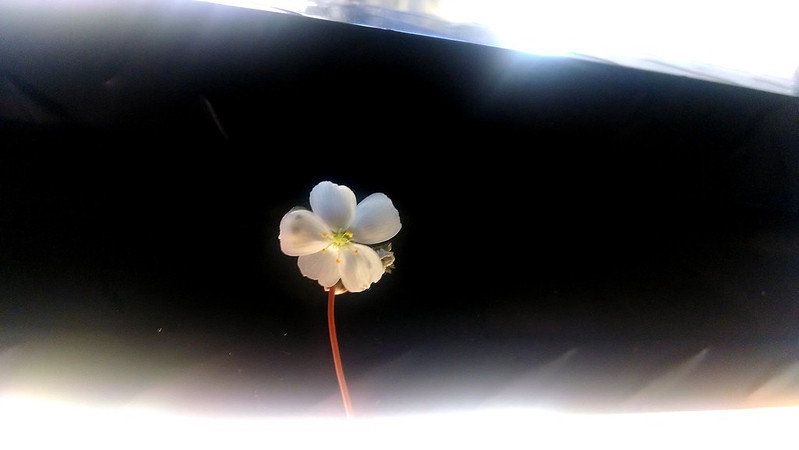
It's looking quite nice now, with robust dew production and lots of new leaves, in addition to the scape. Because of the position of my lights and the height of the pot (and my unwillingness to do a serious shuffling of plants in my tray) I couldn't get a full-on shot of the whole thing. However, I did capture a very nice closeup of the flower silhouetted against the casing of my lights.

Drosera binata var. multifida f. extrema flower.
D. binata var. multifida f. extrema flower beauty shot.
Well shucks, if it's gonna be this cute I may not have the heart to chop it all up for cuttings. We'll see.

Monday, April 21, 2014

Cultivation Guides: Preparing Media

This is part of a series of posts describing various aspects of cultivation, which will hopefully be useful to new growers trying to solve the challenges of growing carnivores, and experienced growers who are always looking to improve their collection. The full series can be read here, or by topic on the Series page.

Carnivorous plants have fairly specific needs when it comes to their media, and carnivorous plant-appropriate soil isn't available for purchase most places. This means that most growers mix their own media to suit the needs of individual species or genera or whatever subcategories lie between. The most common "CP mix" is a 1:1 blend of sphagnum peat and aggregate, usually coarse silica sand or perlite. Long-fiber sphagnum moss is used for some species, while others really want to live in live sphagnum. There are also other, more complex blends used for Nepenthes or Pinguicula or Cephalotus, but I don't have any of those in my collection at the moment (except for one P. gigantea) so I can't comment on that.

In addition to just mixing the materials properly, one must also wet the peat, and ideally clean the media somehow. Carnivores like nutrient-poor, low mineral content soil, which is particularly important when using tray watering, as I do, since nutrients and minerals don't get flushed out very readily when standing in water. It's also a good idea to wash out any spores that may lead to undesired moss or algae or fungus growth.

I learned how to rinse my media from Grow Sundews, where he strongly emphasizes the value of washing. However, the technique he elaborates is laborious, messy, tiresome, and wasteful – at least how I do it. I'm certain there must be a more efficient system than the one I've worked out myself. Rinsing the sand is actually not bad, but the soaking and wringing out of the peat takes a long time, and I end up throwing out a lot that gets mixed up in the water. A few days ago I decided to try simply running water through the pots to flush them, which is a technique another grower shared with me.

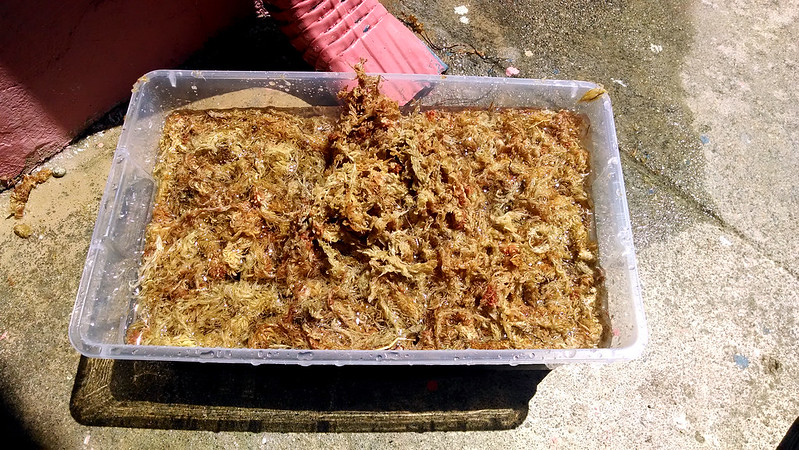
I began with a bucket of peat and sand.

Mixing peat and sand in a bucket.
Bucket of media. I have several buckets lying around the backyard that are used for this purpose.
I also wetted some long-fiber sphagnum. This is from Chile. The best stuff comes from New Zealand and is also the most expensive. The Wisconsin LFS I bought when first starting out is trash and I regret the purchase. It was full of grass and whatnot that I had to pick out as I rinsed. No fun.

Rinsing and hydrating long-fiber sphagnum moss.
Long-fiber Chilean sphagnum moss. LFS is very easy to hydrate and wash, and I would use it much more if it were less expensive.
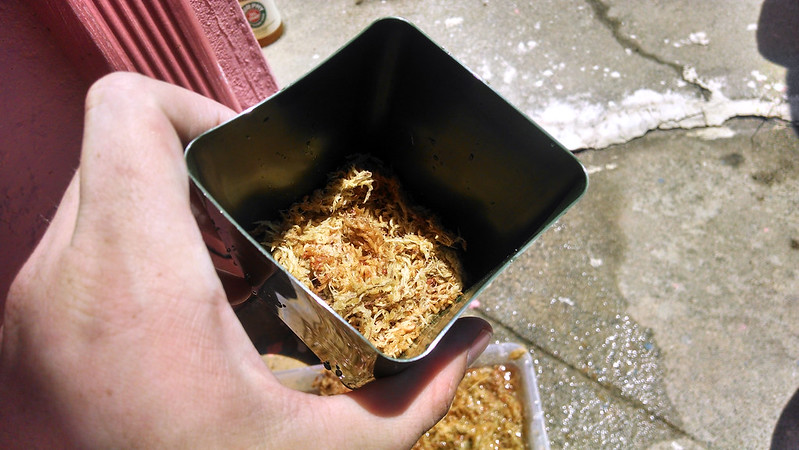
I don't use much LFS, since it's relatively expensive, but I like to line the bottoms of my pots with it to keep the peat/sand mix from falling out and to provide a nice wick for the water. I pack it in about a half inch.

Layer of long-fiber sphagnum at the bottom of a pot.
Some plants like to live in all LFS, but for the rest I just do a layer at the bottom.
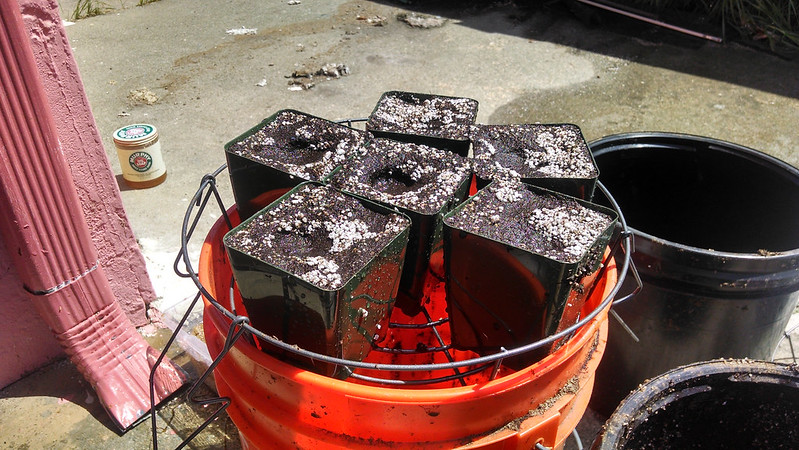
I then filled my pots and attempted to run water through them. However, my mix is somewhat heavy, and water definitely did not drain freely. I added a bit of perlite, which may have helped somewhat, but I think the real solution will be to spend an afternoon really fine-tuning my mix with a variety of different aggregates. I also suspect that the bale of peat moss I have is particularly fine – I would definitely prefer something a bit coarser to improve aeration and drainage.

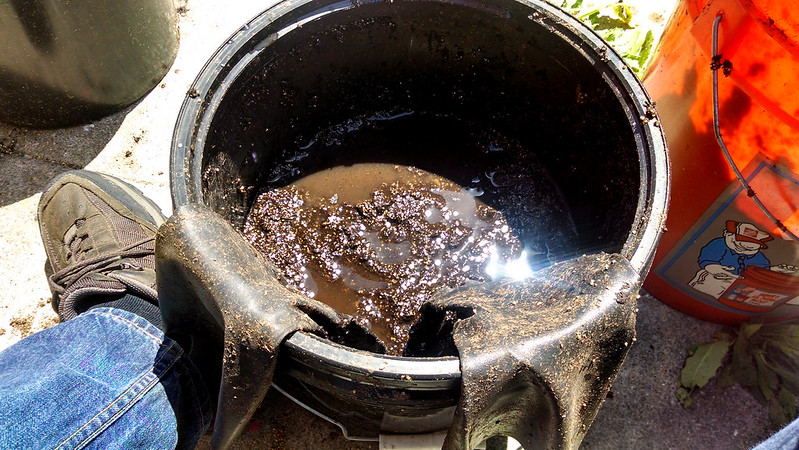
Flushing the pots.
Flushing the pots. I used the bucket to catch waste water, but ended up not doing anything with it. Oh well.
As you can see there was much pooling of the media and floating of the perlite (I don't really enjoy working with perlite). I had to carefully pour some water, wait for it to slowly drip through, and then re-apply. It was better than constantly wringing out peat, but not by much.

I was lucky to have prepared the pots, as some NASC plants were delivered later that day, and 6 pots was perfect. I'll have pictures of them soon. And if I stumble upon any improvements to my media preparation, expect to hear about it here.

Friday, April 18, 2014

Sundew flowers

This morning I got a rare treat – I saw an open sundew flower. In fact, I caught 3 separate plants with open flowers. Sundew blooms are very short lived – usually closing up again within a couple hours – so I was excited to take pictures. However, my phone's camera, while decent, isn't super great at close-up shots, mostly because it lacks manual focus. I ended up getting a couple decent shots, but I'll need to invest in a nicer camera if I want to take close-ups more regularly.

The one that first caught my eye was one I'd not yet seen open at all, Drosera tokaiensis.

Drosera tokaiensis flower.
Drosera tokaiensis flower. The color was hard to capture, but it's quite nice.
Blooming Drosera tokaiensis with other sundews.
Blooming D. tokaiensis in the group pot. Everybody's just hangin' out.
I have decided, by the way, that this is in fact D. tokaiensis, having seen an open flower and compared it to photos online. My favorite part of this bloom was the color – it's a lovely rich pink, in contrast to the other blooms, which are more of a pale lilac.

Also open was the Drosera aliciae. The seedpods on this stalk are very round, which is pretty pleasing.

Drosera aliciae flower.
Drosera aliciae flower. I tried to get a closer shot of the naughty bits but couldn't get it in focus.
Blooming Drosera aliciae.
It's funny to me how long the stalk on the D. aliciae scape is compared to the height of the plant.
The last bloom was, of course, on my Drosera capensis, which is throwing up another flower stalk, just because.

Drosera capensis flower.
Drosera capensis flower. I feel bad about how commonplace this feels to me now.
Blooming Drosera capensis.
Three bloom stalks on D. capensis.
I've noticed that since I've been feeding this plant a bit less the new flower stalk is thinner and less robust overall. I guess I need to get back to feeding. Oh well.

By the time I got home from running errands 3 hours later the D. tokaiensis bloom was entirely closed, and the others were nearly done themselves. That's how it is with sundew flowers!

Thursday, April 17, 2014

It worked!

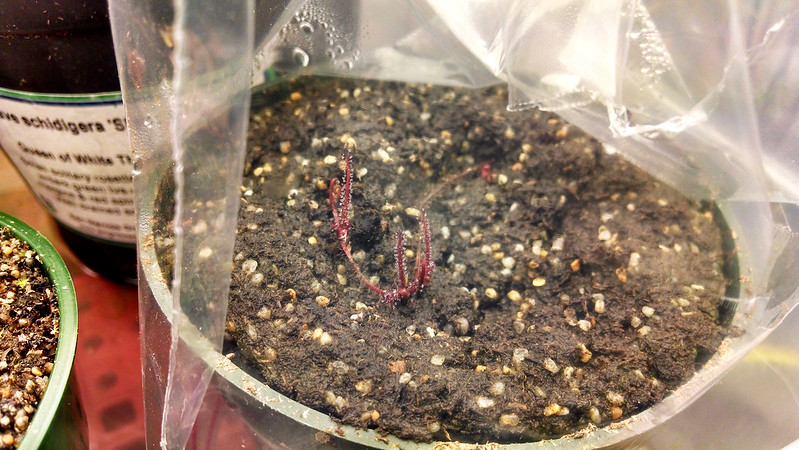
A week or so ago I noticed something funny on my Drosera filiformis Florida All-Red leaf cutting. Remember, it fell off during transit in a trade back in March, and I stuck it on a pot just for kicks. Well what do you know, the sucker struck.

Strikes on a leaf cutting of Drosera filiformis Florida All-Red.
The first little strikes. I like how they're sort of ballooning out of the leaf.
Click on the image for a much bigger size, but there are 4 little strikes on there. I was super excited, but couldn't find time to make a post about this until today. By now the plantlets have started producing dew, and I'm just itching to start feeding them.

Drosera filiformis Florida All-Red leaf cutting strikes with dew.
This is only a week after I first noticed the strikes, and here they are with dew.
I'm going to start cutting holes in the little humidity tent I made out of a Ziploc bag to slowly harden off the plantlets. Maybe in a week or two I'll be able to start them feeding.

In the meantime, the two D. filiformis plants from that trade are doing great, as you may have seen in my last post.

Drosera filiformis Florida All-Red with new growth.
The plant on the left has almost doubled in height from when I got it. That's pretty cool!
Lots of growth, nice unfurling leaves, it's everything you could hope for. I'm going to start taking more cuttings of this plant – it's proven to be popular trading material, so I want to get lots more. Plus, it's a great plant!

Tuesday, April 15, 2014

Cultivation Guides: Harvesting Seed

This is part of a series of posts describing various aspects of cultivation, which will hopefully be useful to new growers trying to solve the challenges of growing carnivores, and experienced growers who are always looking to improve their collection. The full series can be read here, or by topic on the Series page.

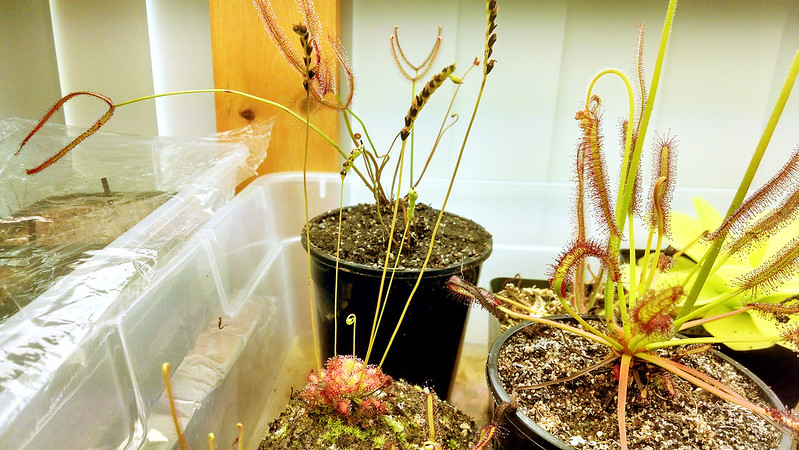
Today I decided to harvest seed from my Drosera capillaris, which has been blooming for several months. I donated some seed to the NASC auction, and I also want to get it ready to sell and to trade. As you can see, there was plenty of ripe seed to collect.

Drosera capillaris with flower stalks.
Drosera capillaris with lots of nice seed.
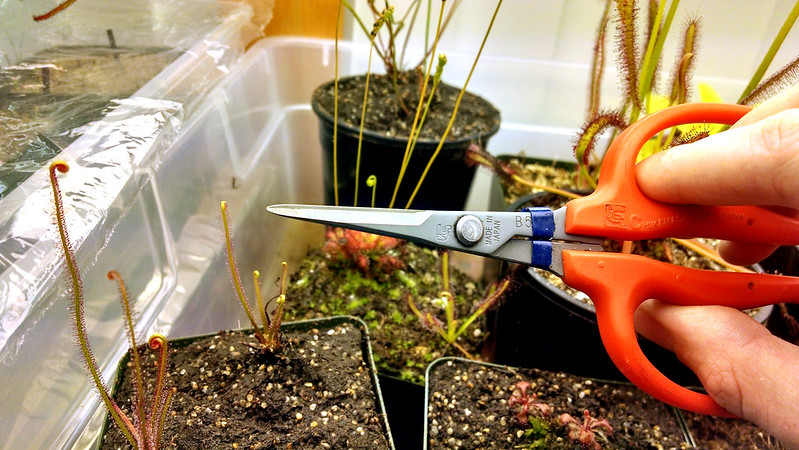
Of the 6 stalks that you can see, 4 appeared fully bloomed out with ripe seed. I went for the one that I thought I remembered as being the oldest, and went in for the kill.

Trimmers.
Fancy trimmers from Japan.
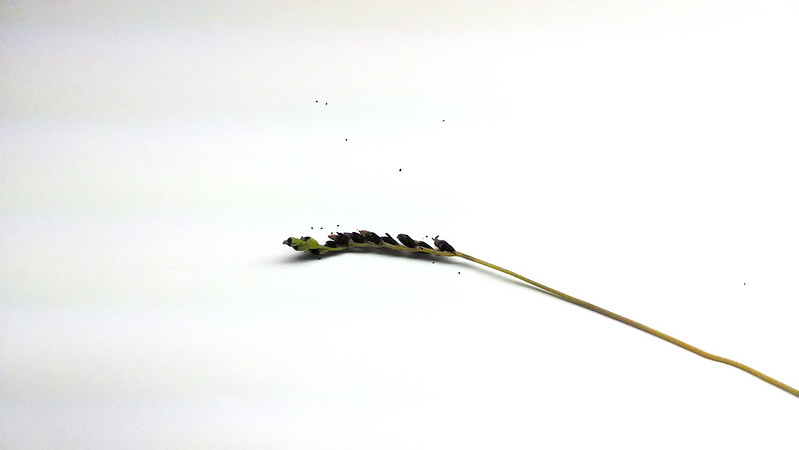
I had prepared a few pieces of printer paper to help me collect the seeds, which are super tiny. This stalk had about 12 seed buds on it.

Cut Drosera capillaris flower stalk.
D. capillaris flower stalk. Some seed has already fallen out.
To harvest, I just tapped the top of the flower stalk on the paper and tiny little seeds came sprinkling out. After a while I was feeling like I should be getting some more out of the top buds, so I broke them open with my fingernail. This ended up being a bad move, since the top (i.e. youngest) buds weren't ripe yet, so the seed was still soft and green. You can see a closeup picture below.

Ripe and unripe Drosera capillaris seed.
The leftmost seed is ripe. The ones immediately to its right are still green and too fresh to harvest.
With the remaining flower stalks I shook out the ripe seed, and then set the leftover stalks aside in a folded piece of paper to dry for another couple weeks. It may be that more seed will have ripened by then and I'll get another few packets worth.

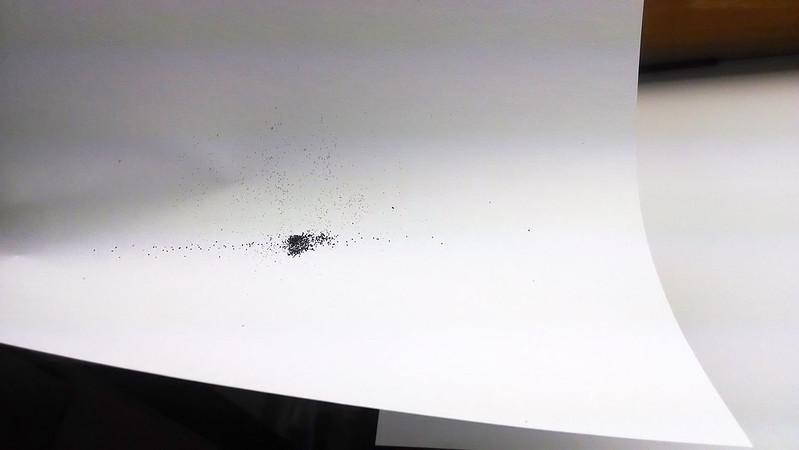
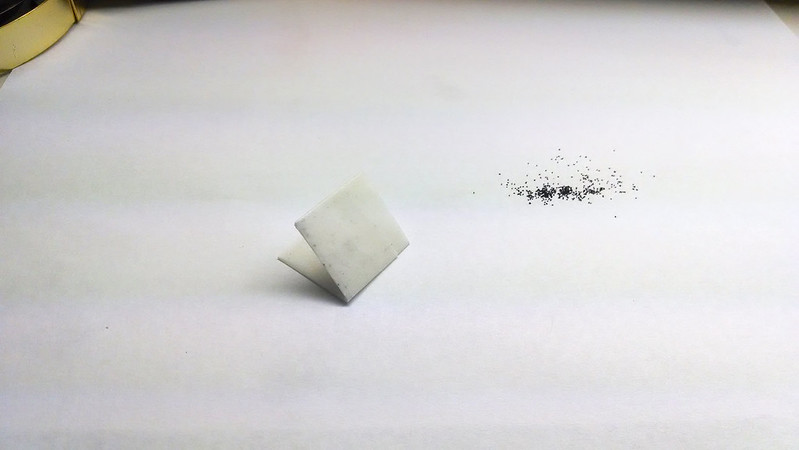
Harvesting the seed also ended up shaking out a decent amount of old pollen and other plant materials onto the paper. I want to ship clean seed, since since it's important to have as few nutrients on your media as possible when starting seedlings, and all of that is just mold and algae food. Luckily, there's a pretty easy way to do this. Ripe seed is fairly hard and smooth and roundish, so it doesn't stick easily to paper. If you sort of bend the page into a U-shape, tilt it at a 30 degree angle or so, and tap it a few times the seed should all roll off and leave the detritus stuck behind.

Cleaning the seeds.
I learned this method of cleaning seeds from the ICPS website. Works great!
I did two passes like this, and then individually removed any tenacious junk with a toothpick while looking through my two magnifying glasses. I really need a decent loupe.

After cleaning, I packetized the seeds in parchment paper. I cut squares about 2 in. by 2 in., and then folded inwards into thirds in one direction. Then I tapped the seed into the packet, counting 50 seeds plus a bit extra into each. I then folded into thirds again the opposite way to (mostly) seal in the seeds. It's important to not use tape or glue with these guys, since they're so tiny and liable to get stuck.

Packet of Drosera capillaris seed.
Seed packet. There are about 50 seeds in here.
In all I collected 13 packets of 50-60 seeds each for sale, plus 3 packets of around 75 for the NASC auction. I also left myself about 100 seeds to sow at home, which I plan to do soon. I don't know if D. capillaris needs cold stratification to germinate, so I think I'm going to split the remaining seed between a few pots and do an experiment.

Evelope with 13 packerts of Drosera capillaris seed.
Thirteen D. capillaris seed packs, ready for storage. Lots of potential plants in this envelope.
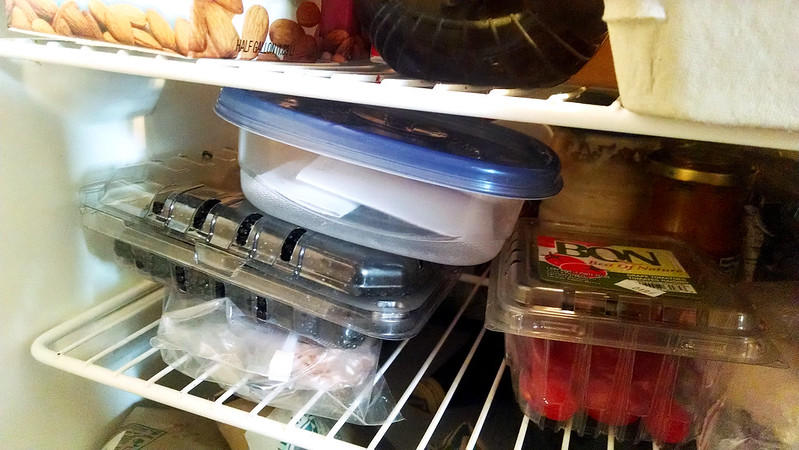
The seeds went into an envelope, which went into a plastic container, which went into the fridge. I recorded the harvest date and number of packets, so I'll be able to keep track easily. If anyone wants Drosera capillaris (Alabama) white flower seeds, now is definitely the time to get it! Check the sale page, I just put up a PayPal button.

Drosera capillaris seeds in the refrigerator.
These seeds can stay viable for a very long time kept cool and dry in the refrigerator.
In the meantime, my little D. capillaris is sure looking spry with its new haircut.

Drosera capillaris minus several flower stalks.
Now the D. capensis hitchhiker is looking even bigger. Got to dig it out soon.
Lookin' sharp little guy!

Monday, April 14, 2014

BACPS Spring 2014 meeting

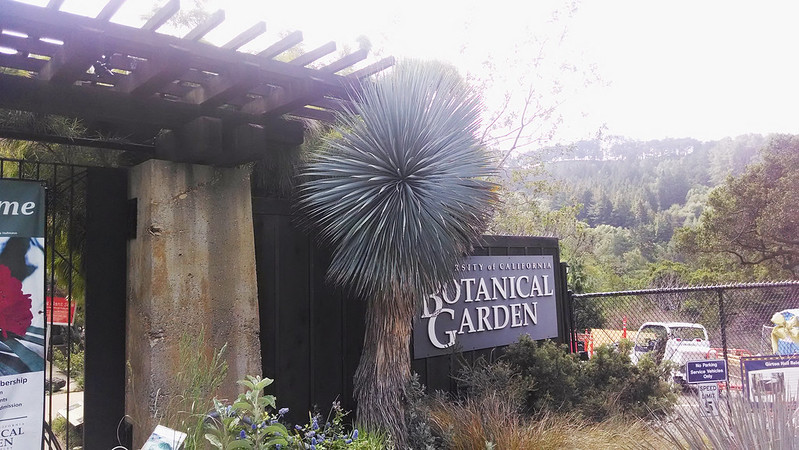
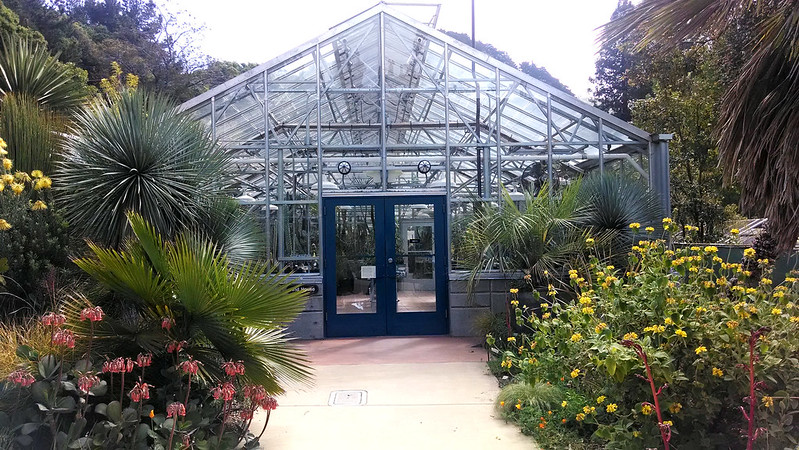
The Bay Area Carnivorous Plant Society meeting was held Saturday at the UC Botanical Garden. I'm a UCBG member, and try to visit whenever possible.

Yucca rostrata at the UC Botanical Garden
Yucca rostrata at the UCBG entrance.
On this day the guy working the entrance saw the Drosera burmanii I had brought for the bring and brag and pointed me towards the BACPS meeting. Because I was headed to the meeting, I avoided my typical first stop, the spectacular Arid House.

The UC Botanical Garden Arid House.
The UCBG Arid House, home of insane, spectacular plants.
If you live in or occasionally visit the Bay Area you must make time to visit the UCBG. It's a truly astonishing garden.

In any case, I got to the meeting a bit early, and sat around chatting with a few folks before the things got started. I also traded a smallish D. filiformis Florida All-Red leaf cutting for a few stems of Utricularia gemniscapa with Howard, who I met on TerraForums and who blogs about carnivorous plants (in Japanese) at tanukimo.blogspot.com. Use Google Translate – it's interesting to read if you like Utrics (like I do).

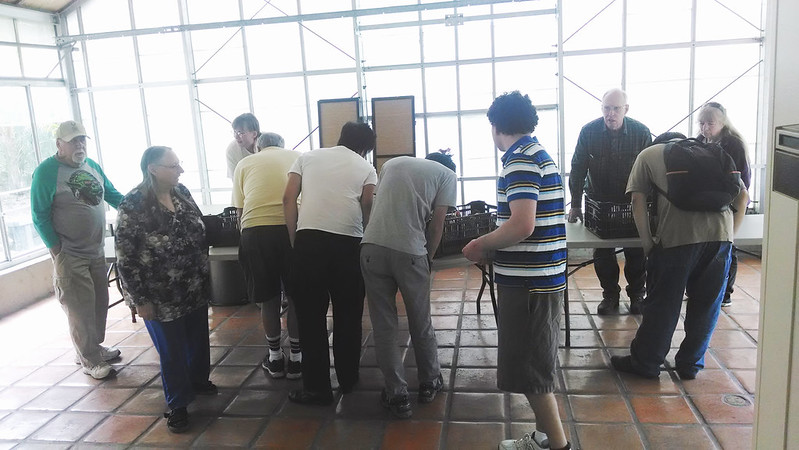
A bit before 11 the folks from California Carnivores arrived and set up shop. The BACPS members swarmed their tables before they even got the plants out of the box for display. I think I overheard Damon make a joke about setting up barricades to hold back the zombies, and that's pretty much what I felt like.

Crow around the vendor table.
Shamelessly swarming around the vendor table. I was right there with everybody.
Most of the plants for sale were temperate and pygmy sundews, VFTs, and some truly beautiful Sarracenia. I allowed myself one plant, a very fine Sarracenia x 'Abandoned Hope'.

The presentations for the meeting were a talk by Damon Collingsworth of California Carnivores and Barry Rice of (among other things) Sarracenia.com about preparing one's plants to enter into the show in June, and a slideshow by Damon about Venus Flytraps in the wild. The presentations were lots of fun!

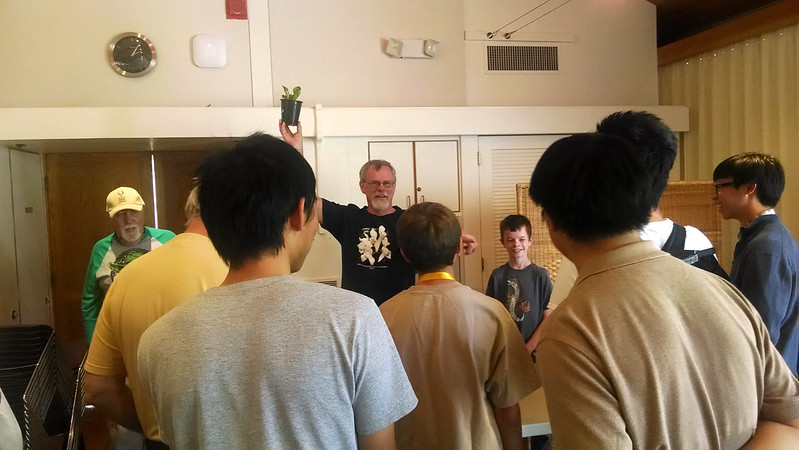
Presentation on preparing plants for the annual show.
Barry Rice and Damon Collingsworth talking about preparing plants for the annual show.
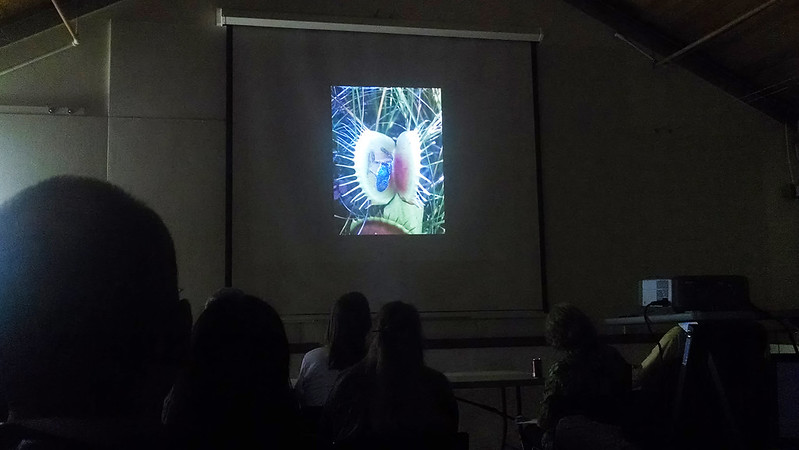
Slide from the presentation on Venus flytraps in the wild.
Slide of a Venus flytrap that ate a frog. Nice catch!
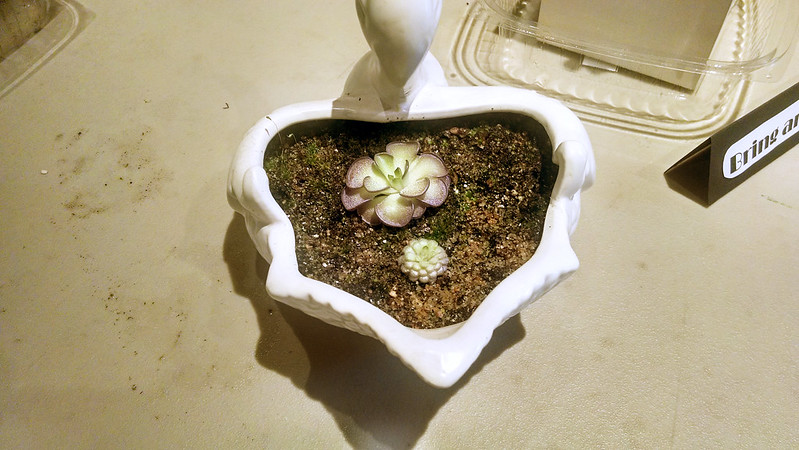
After the talks we had the Bring and Brag. I showed off my D. burmanii Humpty Doo, and received compliments from a number of people (including Fernando Rivadavia, which was cool). We also saw this funny pair of Pinguicula cyclosecta, one of which has dormant winter leaves, while the other is already in full carnivorous summer foliage.

Pinguicula cyclosecta with winter and summer foliage.
I loved the color on these P. cyclosecta. And it's cool to see the different leaves side by side.
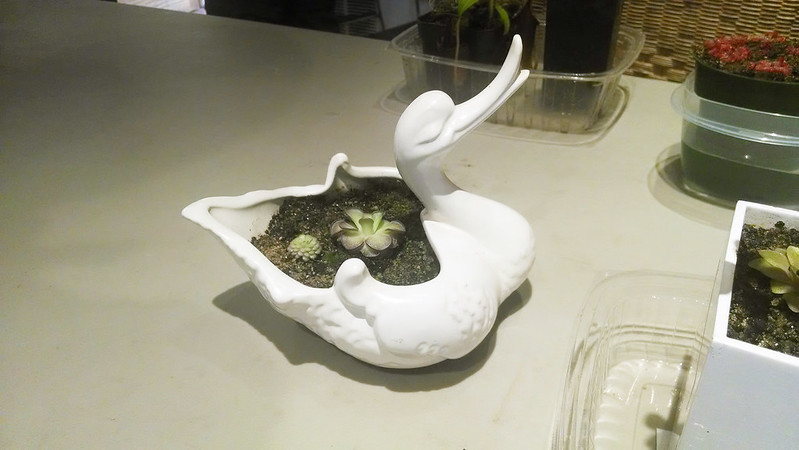
Pinguicula cyclosecta in a cute bird-shaped pot.
Also they were planted in this funny pot. How cute!
The auction came next, and then the raffle. Several large Heliamphora heterodoxa x minor divisions brought in a pretty penny. At the raffle I got a Sarracenia leucophylla (Hurricane Creek, AL) and a small pot of D. scorpioides.

Heliamphora heterodoxa x minor at the BACPS auction.
This division went for like $30. I'd like to grow Heliamphora someday, but right now it's a bit much for me.
After this I hung around a bit more, convinced myself not to buy another Sarracenia, and then headed home. It was a lot of fun, and I came away with a few new plants and the desire to grow more to share at the next auction. Here's the final count at home.

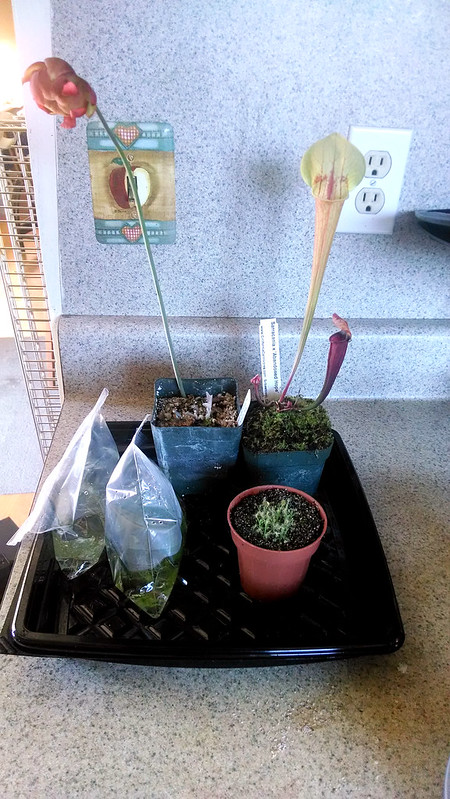
My haul from the BACPS meeting.
Clockwise from back left, Sarracenia leucophylla (Hurricane Creek, AL), Sarracenia x 'Abandoned Hope', Drosera scorpioides, Utricularia gemniscapa, mixed Utricularia.
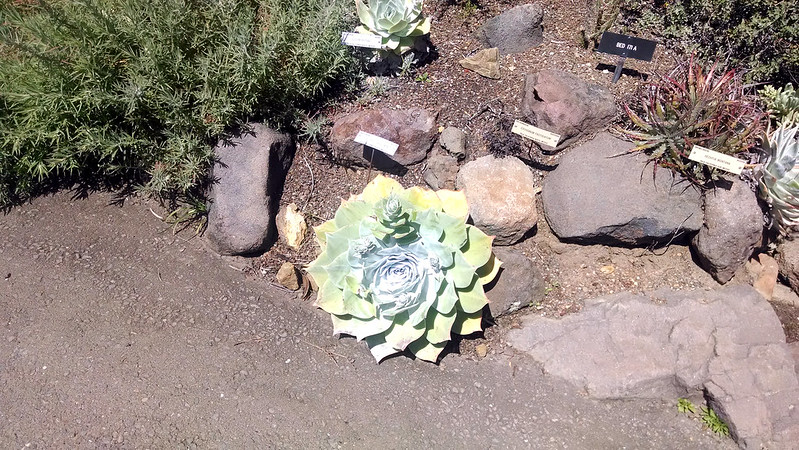
 And because that's not a particularly lovely photo, I'll leave you with this Dudleya pulverulenta, which was so large and so glaucous that it stopped me in my tracks, arms full of plants, to take a picture. That's what the UCBG is all about.

Large Dudleya pulverulenta at the UC Botanical Garden.
This Dudleya is like 18 inches in diameter. What a wonderful plant.